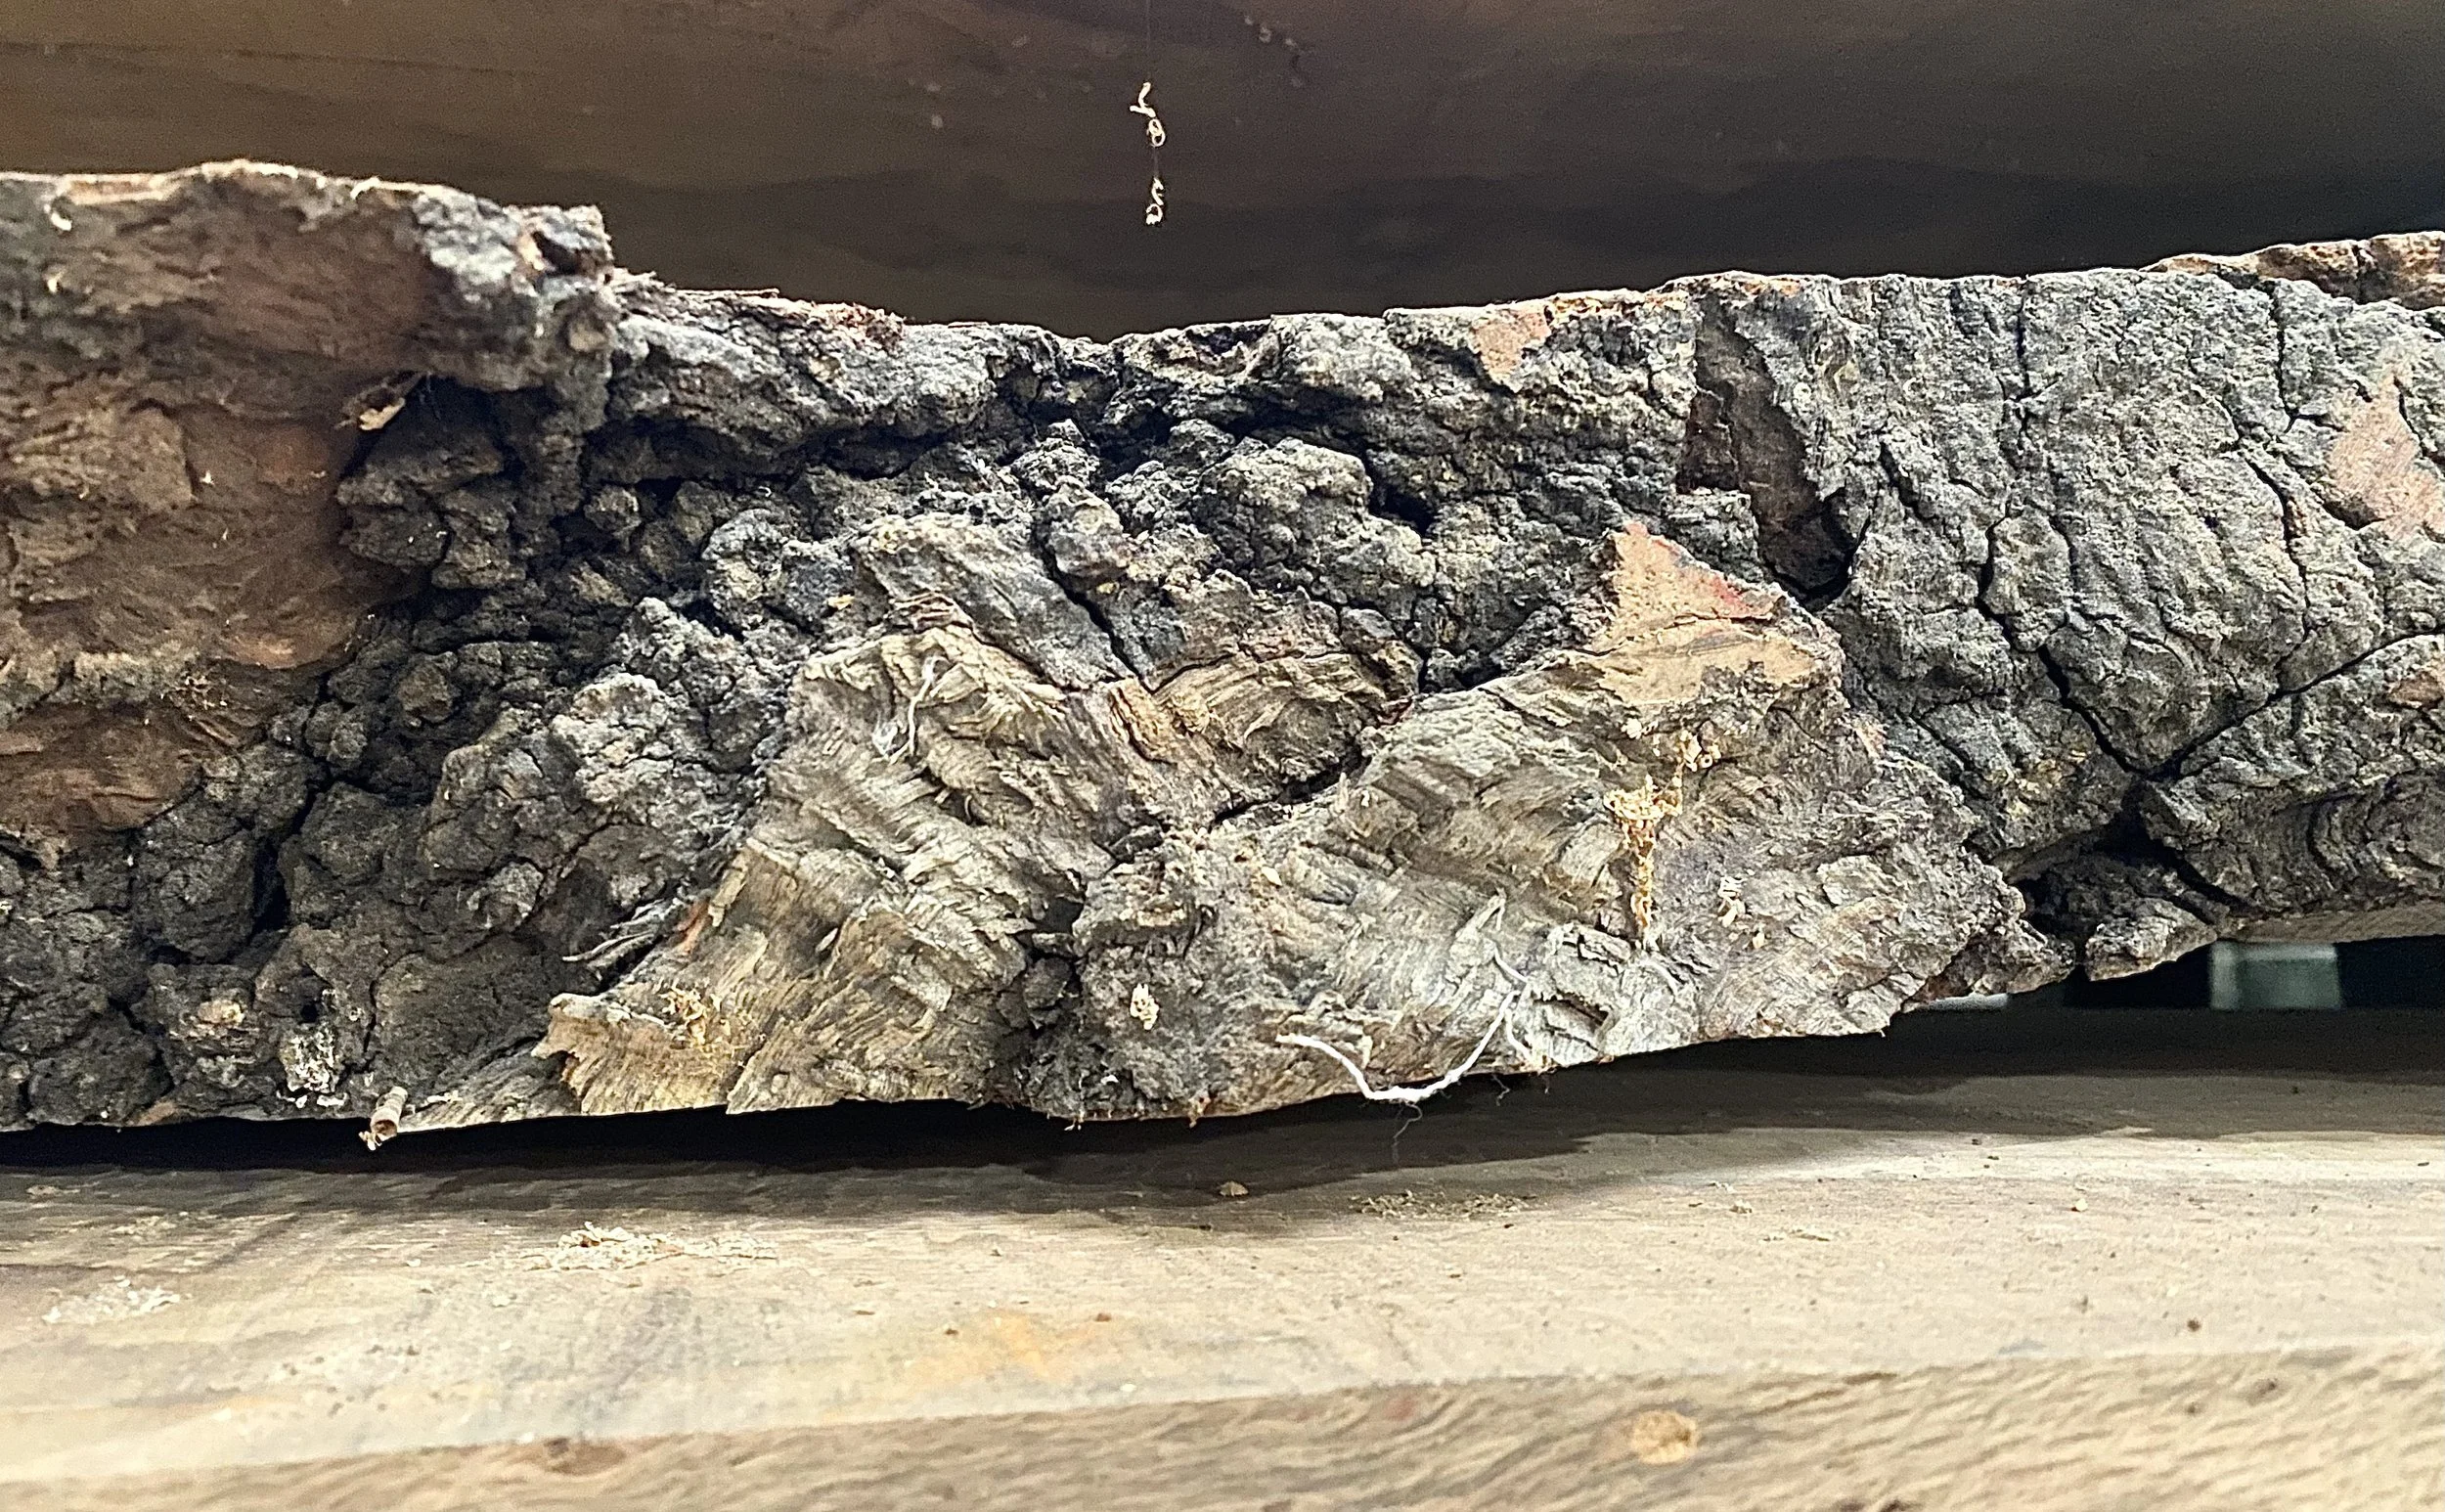
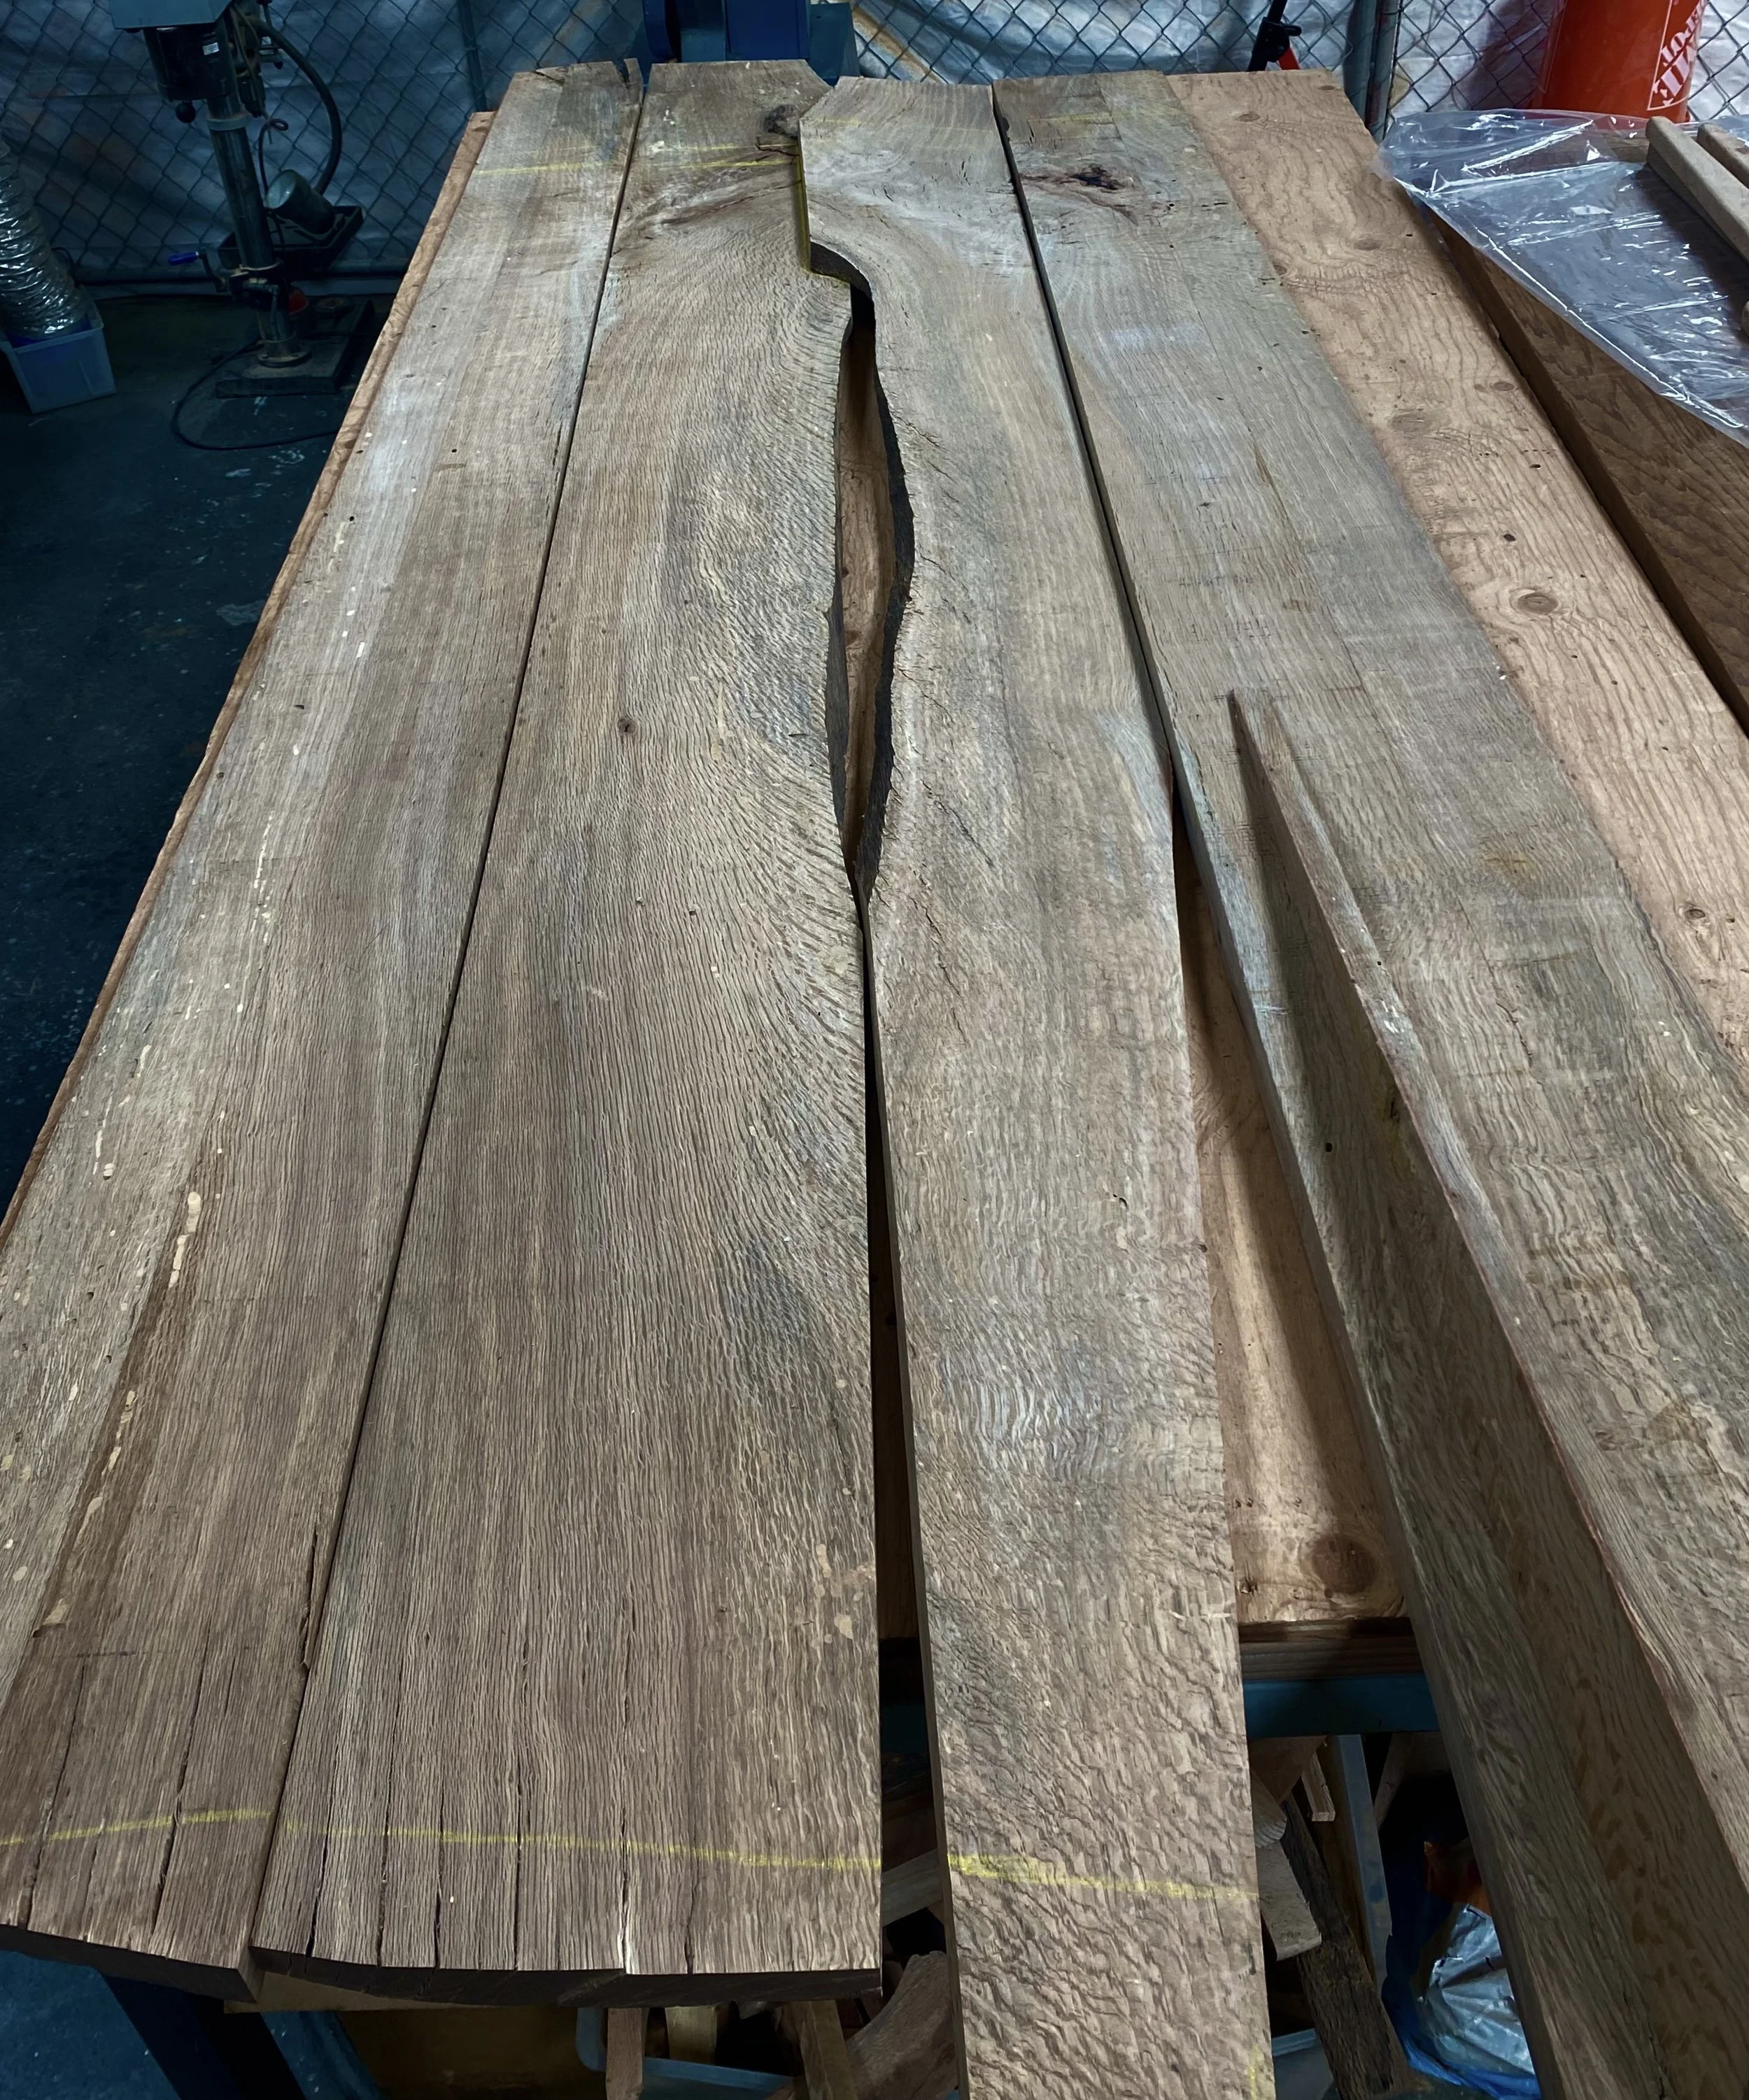
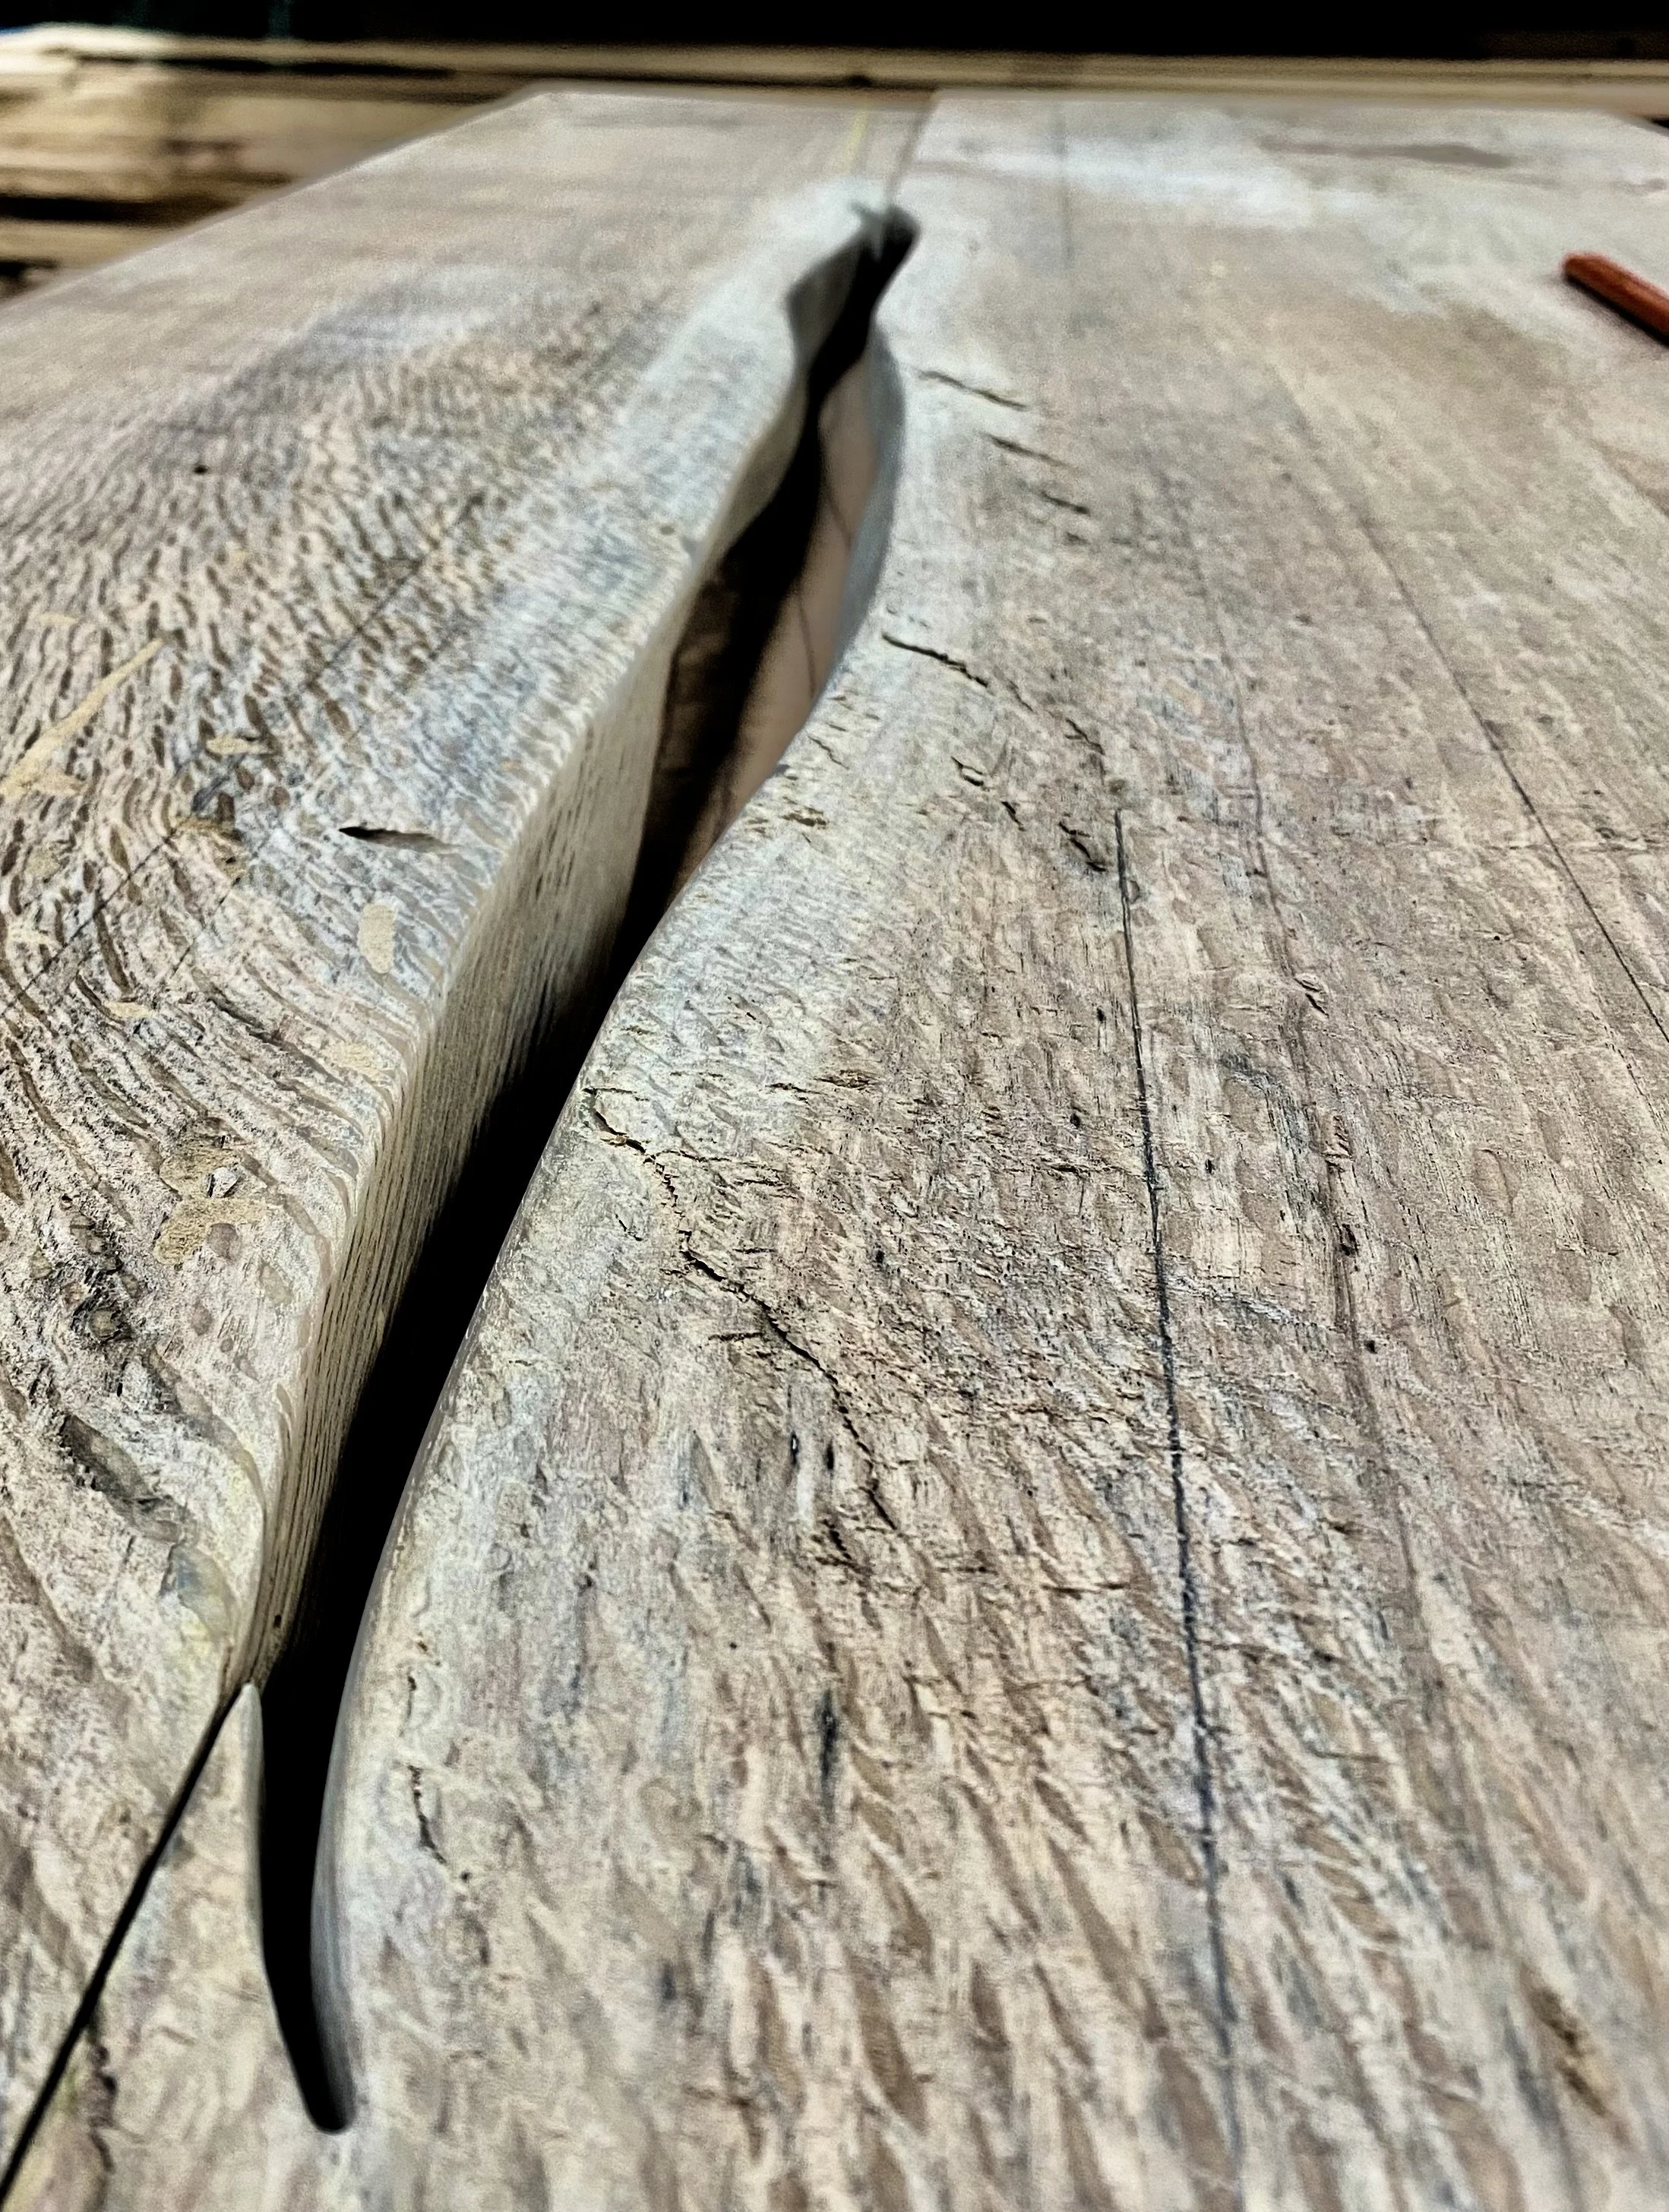
Every KEITA piece starts with raw material selection, and the Hannah Table is no exception. We first picked two air dried slabs from a beautiful urban harvested oak tree. By laying them out, and experimenting with configurations we found a composition that felt balanced and had character. We then cut each slab down to a width that could be flattened on the jointer, revealing the surface grain hidden beneath years of weathering.
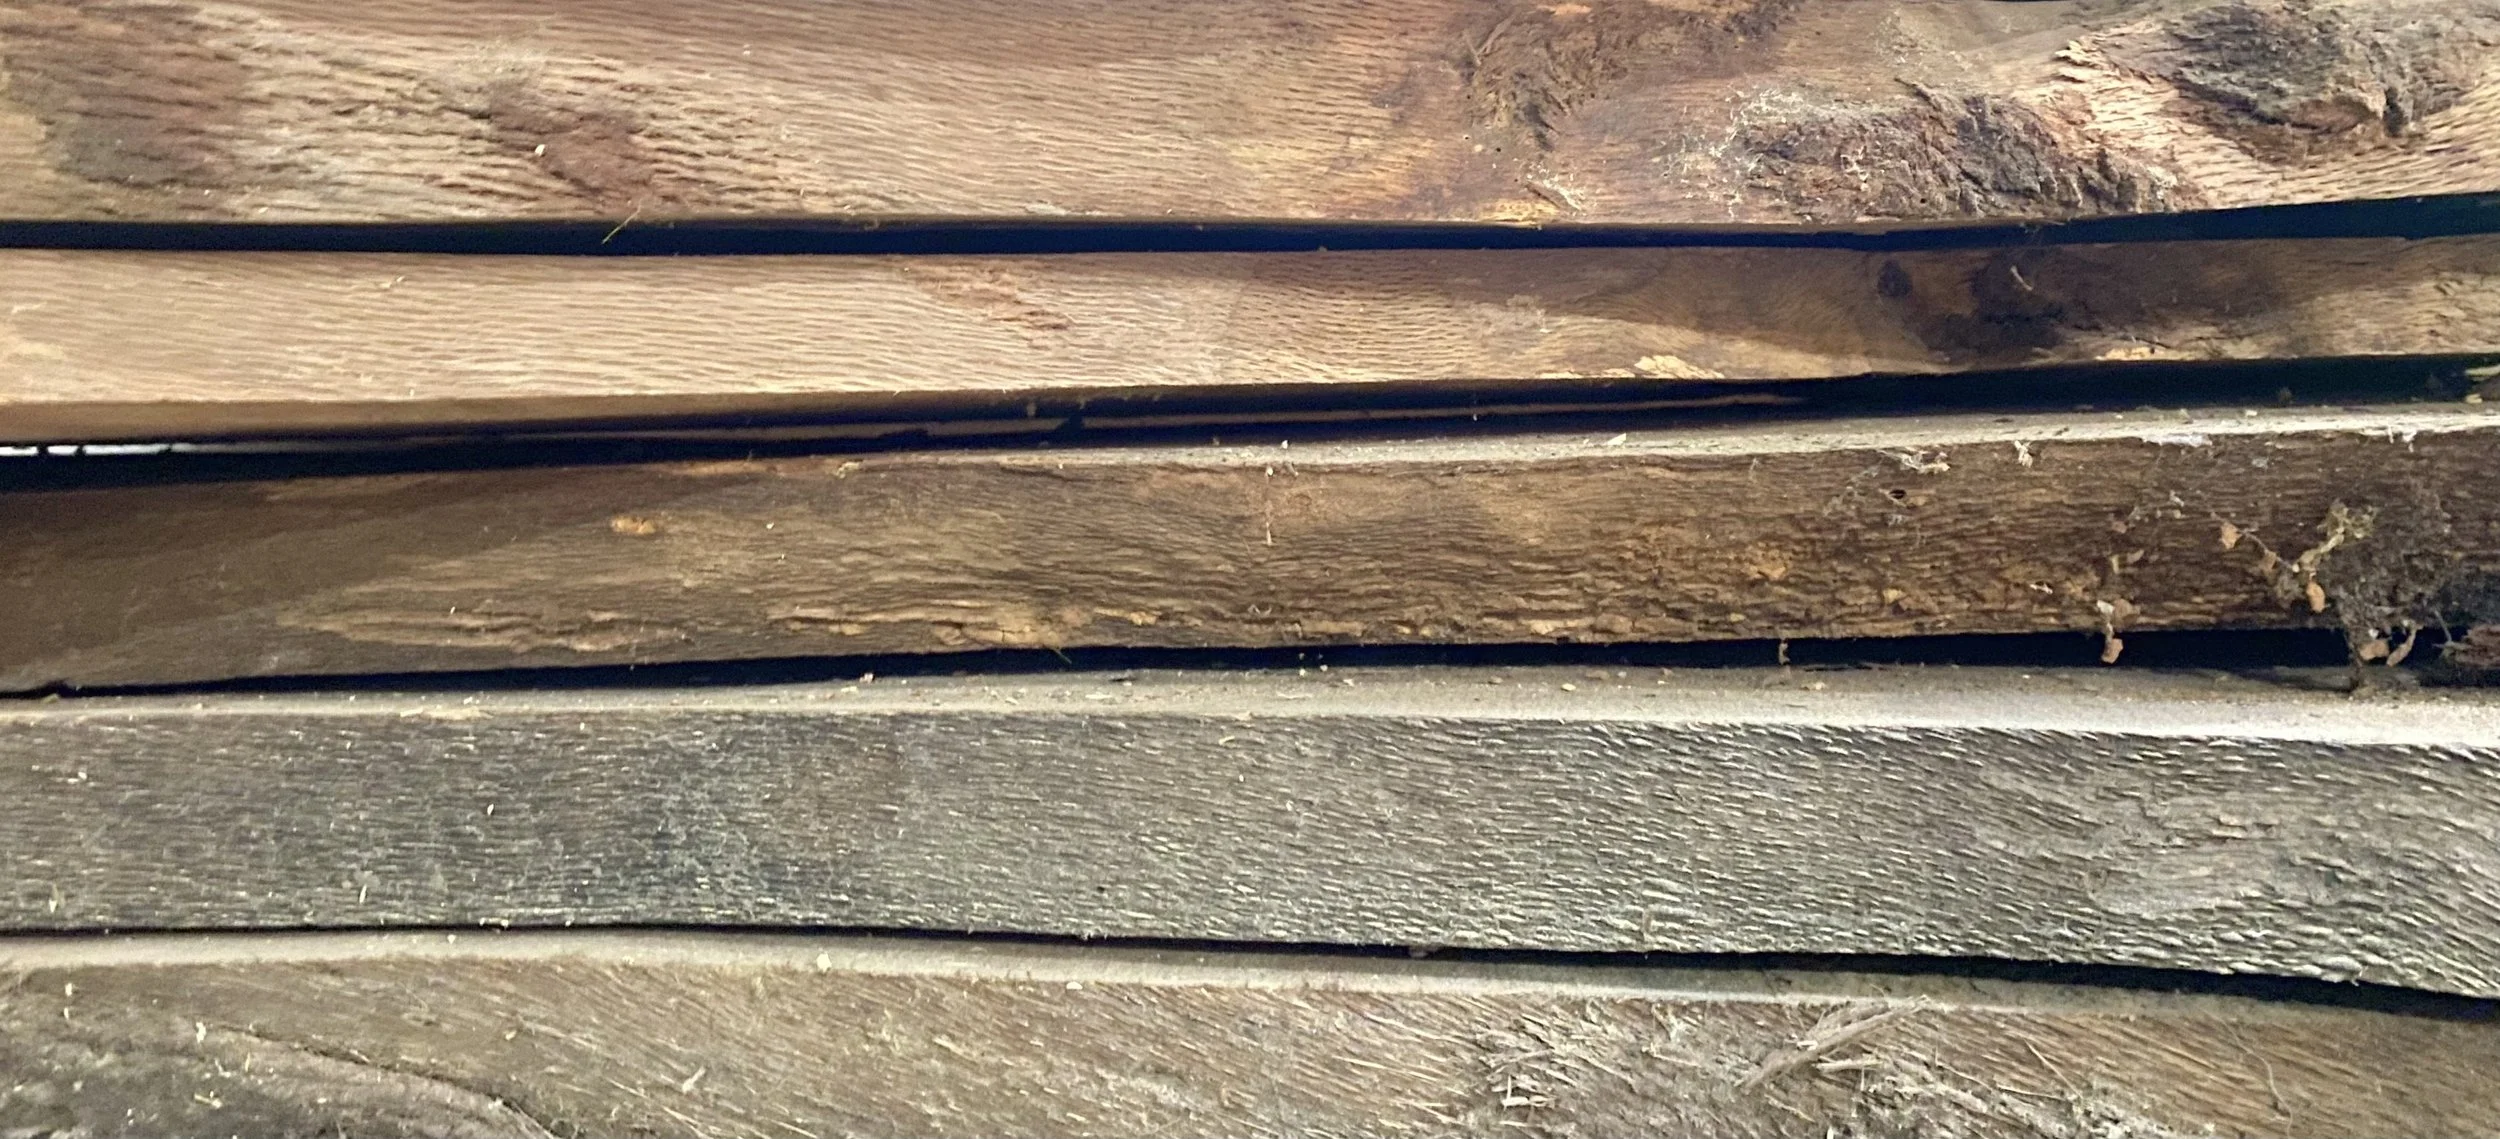
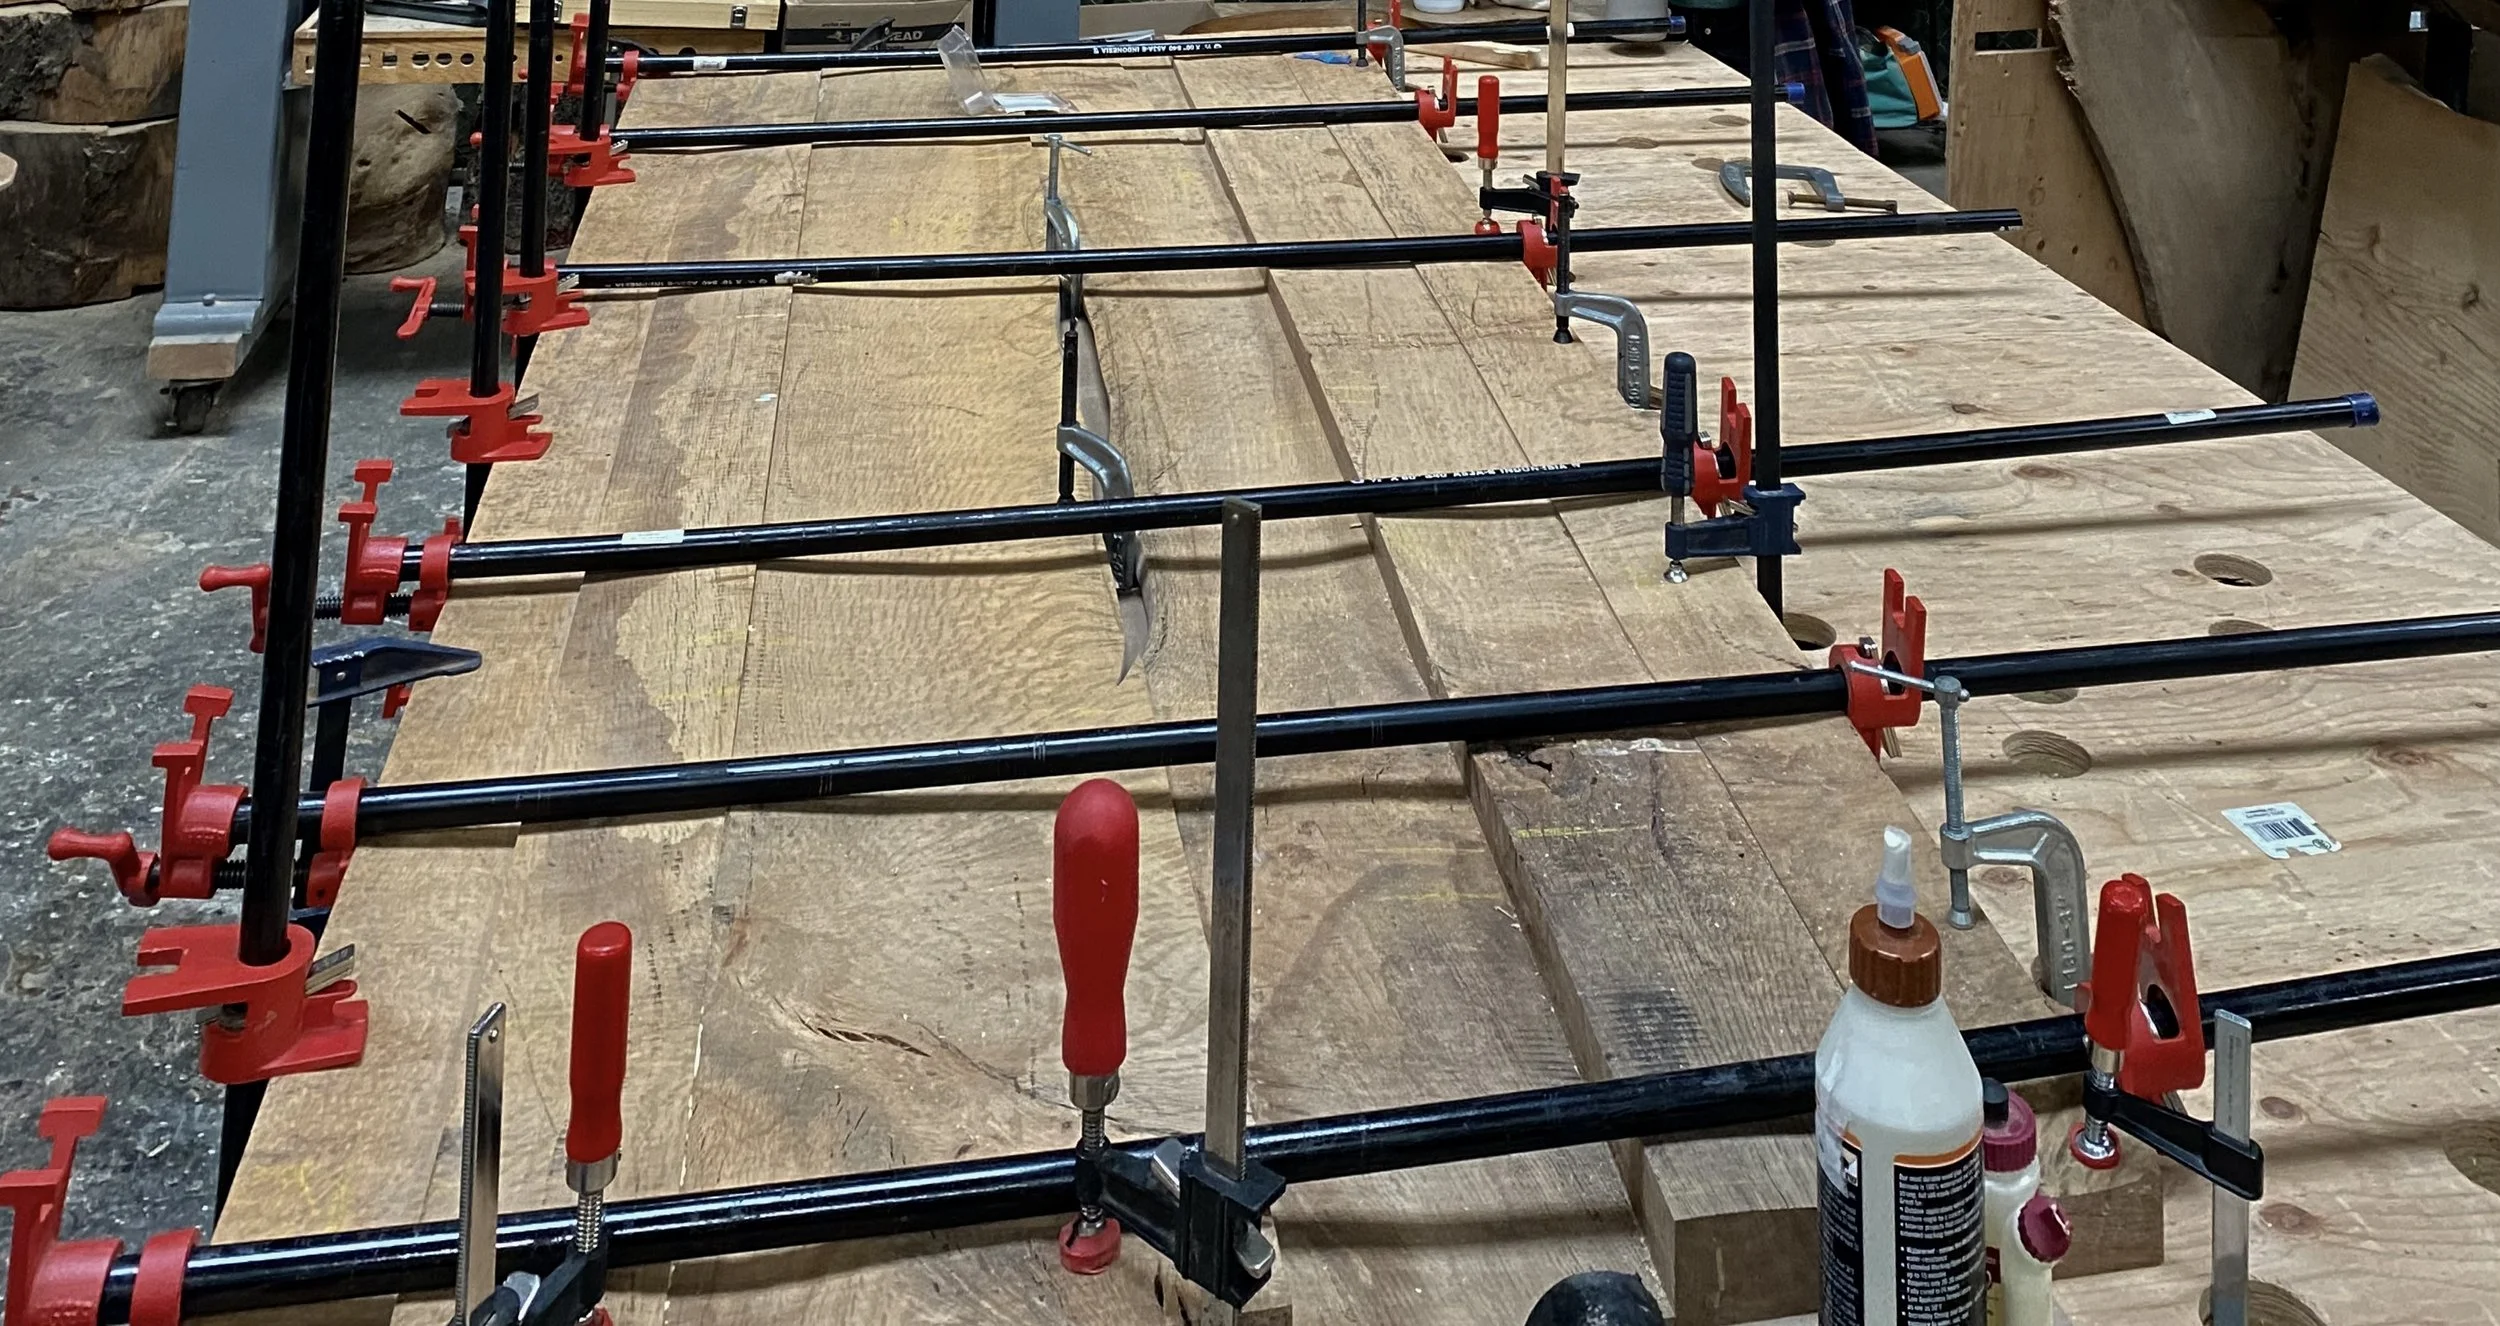
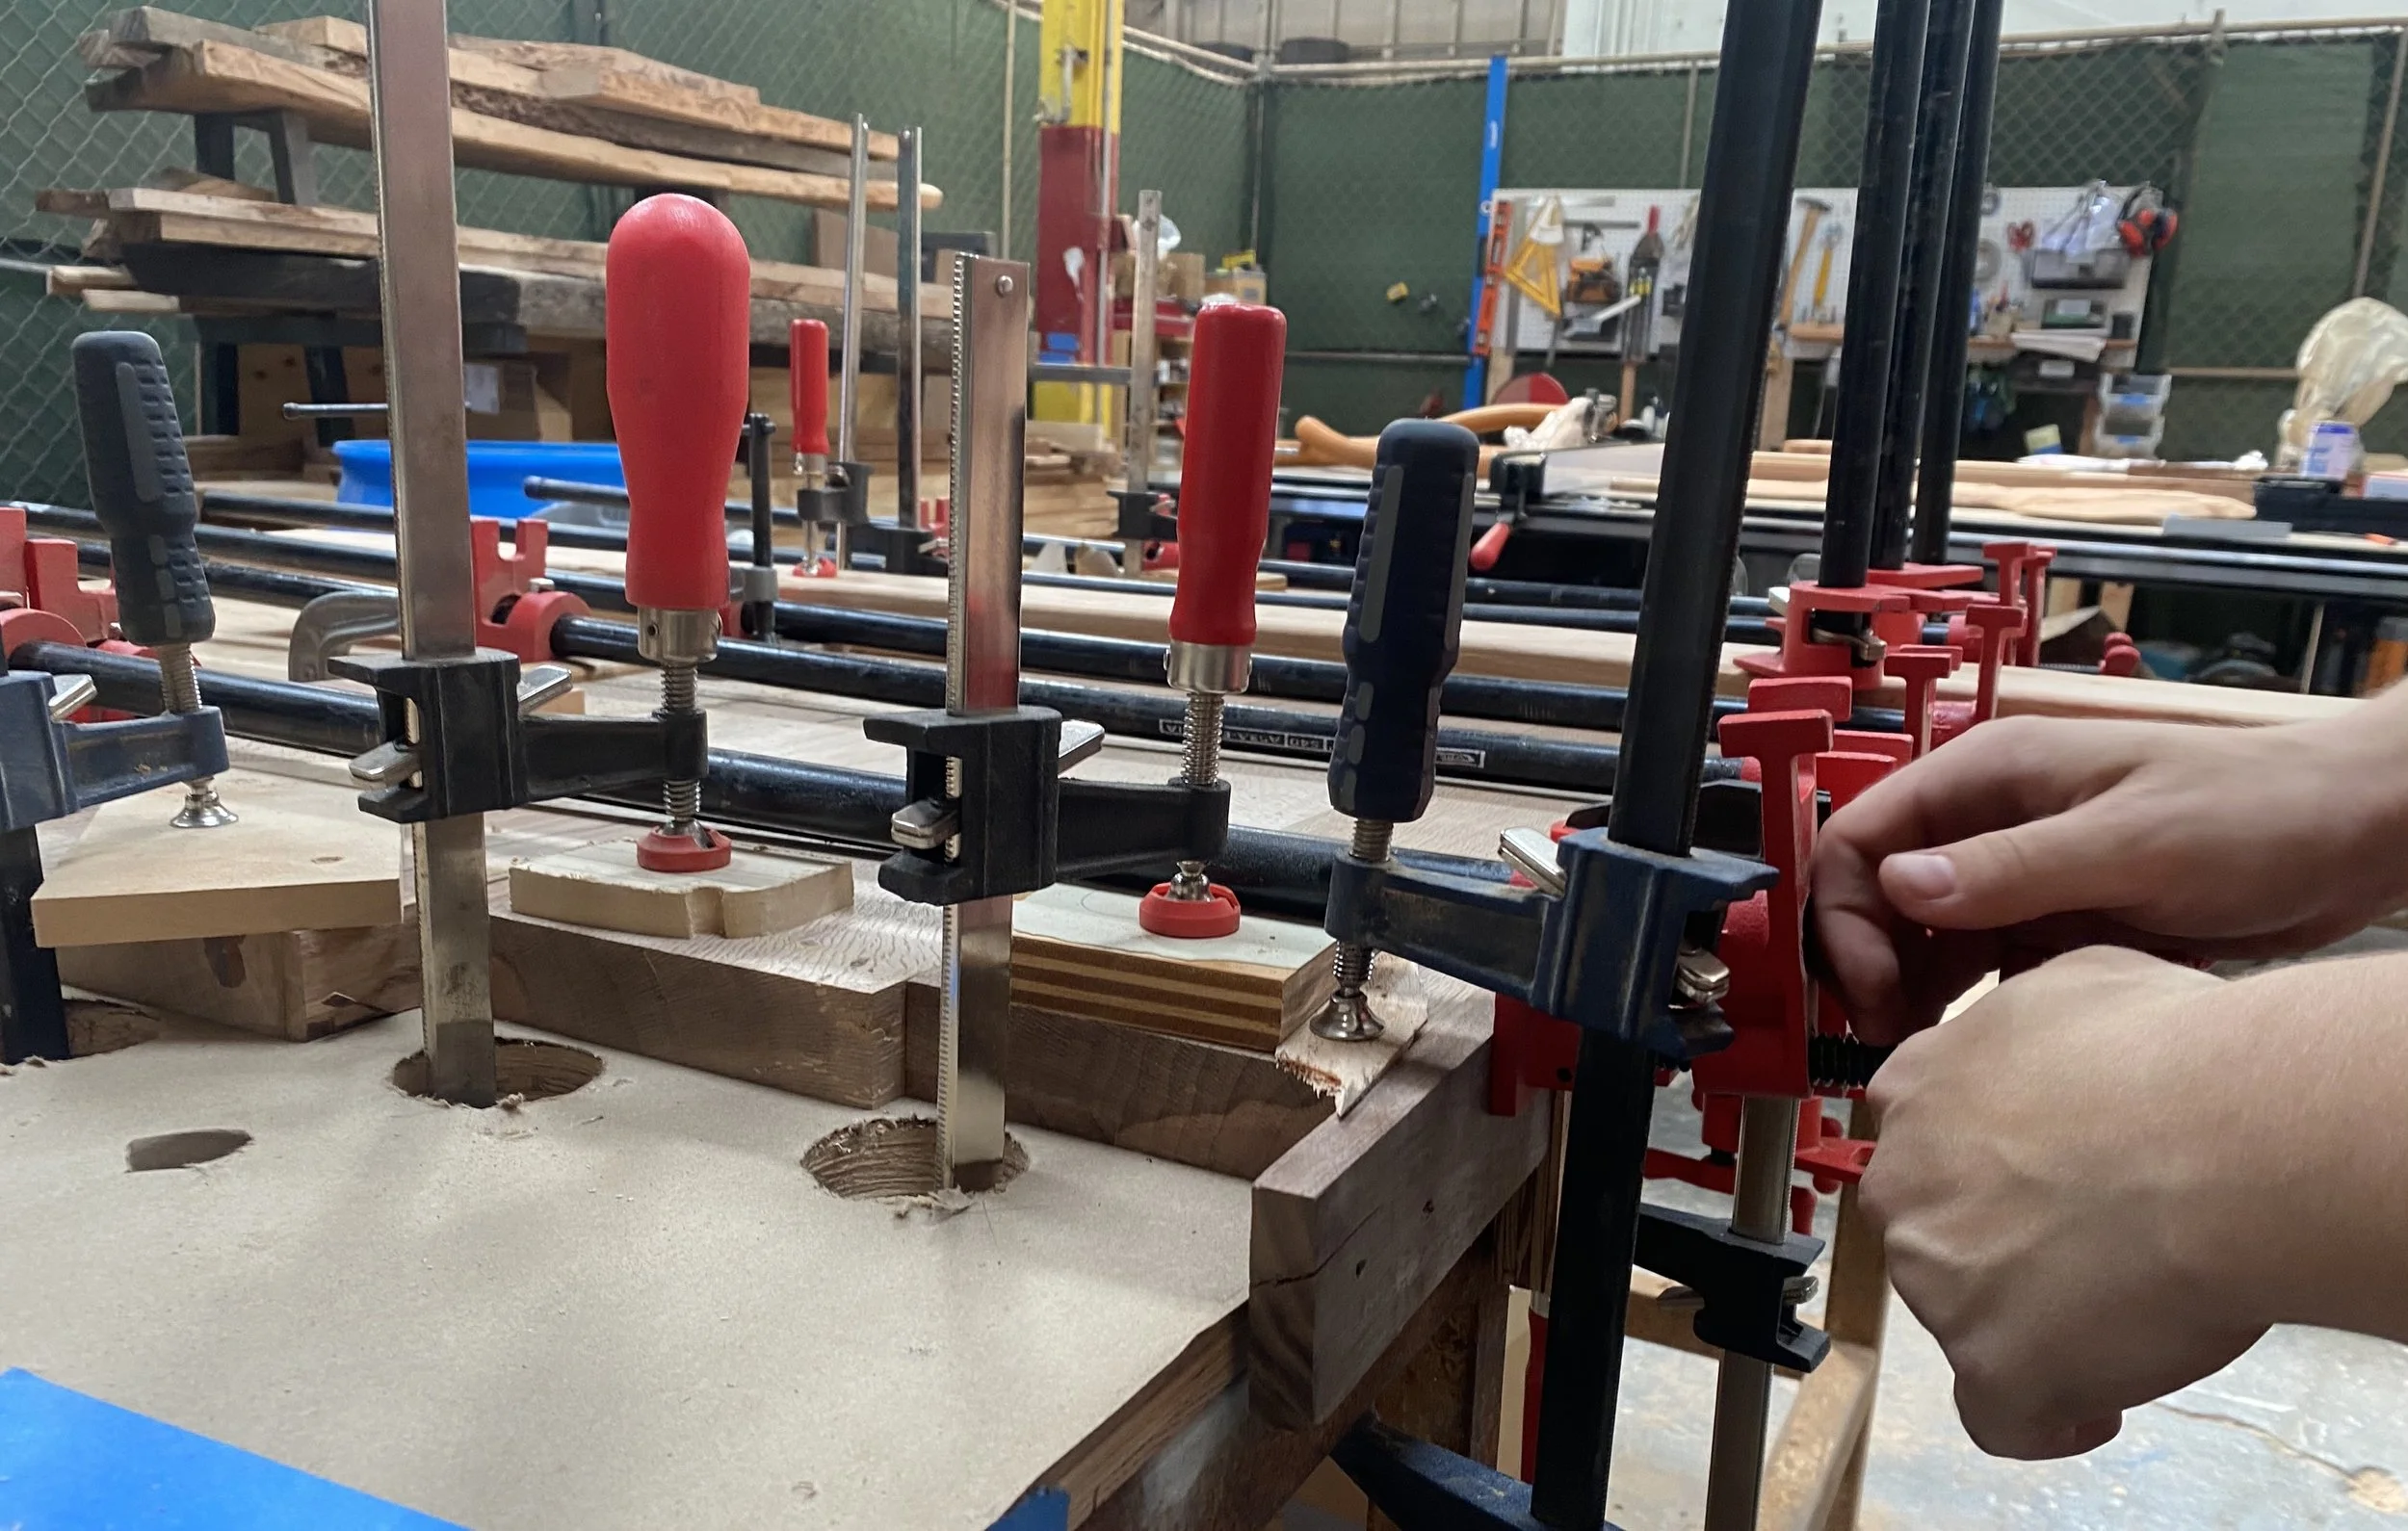
With the slabs prepped, we laid the pieces out again to evaluate their grain, structure, and thickness, and finalized the alignment and edge shape. Once satisfied with this we edge-jointed them and reinforced the seam with biscuits. A glue-up followed, clamping the slabs together to form a seamless tabletop. This process of flattening one side with the jointer and glueing up planks of uneven thickness preserves the maximum thickness of the tabletop components by leaving one side “wild”. We then smoothed the discontinuities of the underside to create an undulating bottom surface which serves as a record of the process of fabrication. After letting the joined wood cure for a few weeks, we refined the edge shape by first cutting an MDF template as a guide and then pattern routing the table edges. We then used a large and deeply beveled router bit to create the thin-edge beveled profile.
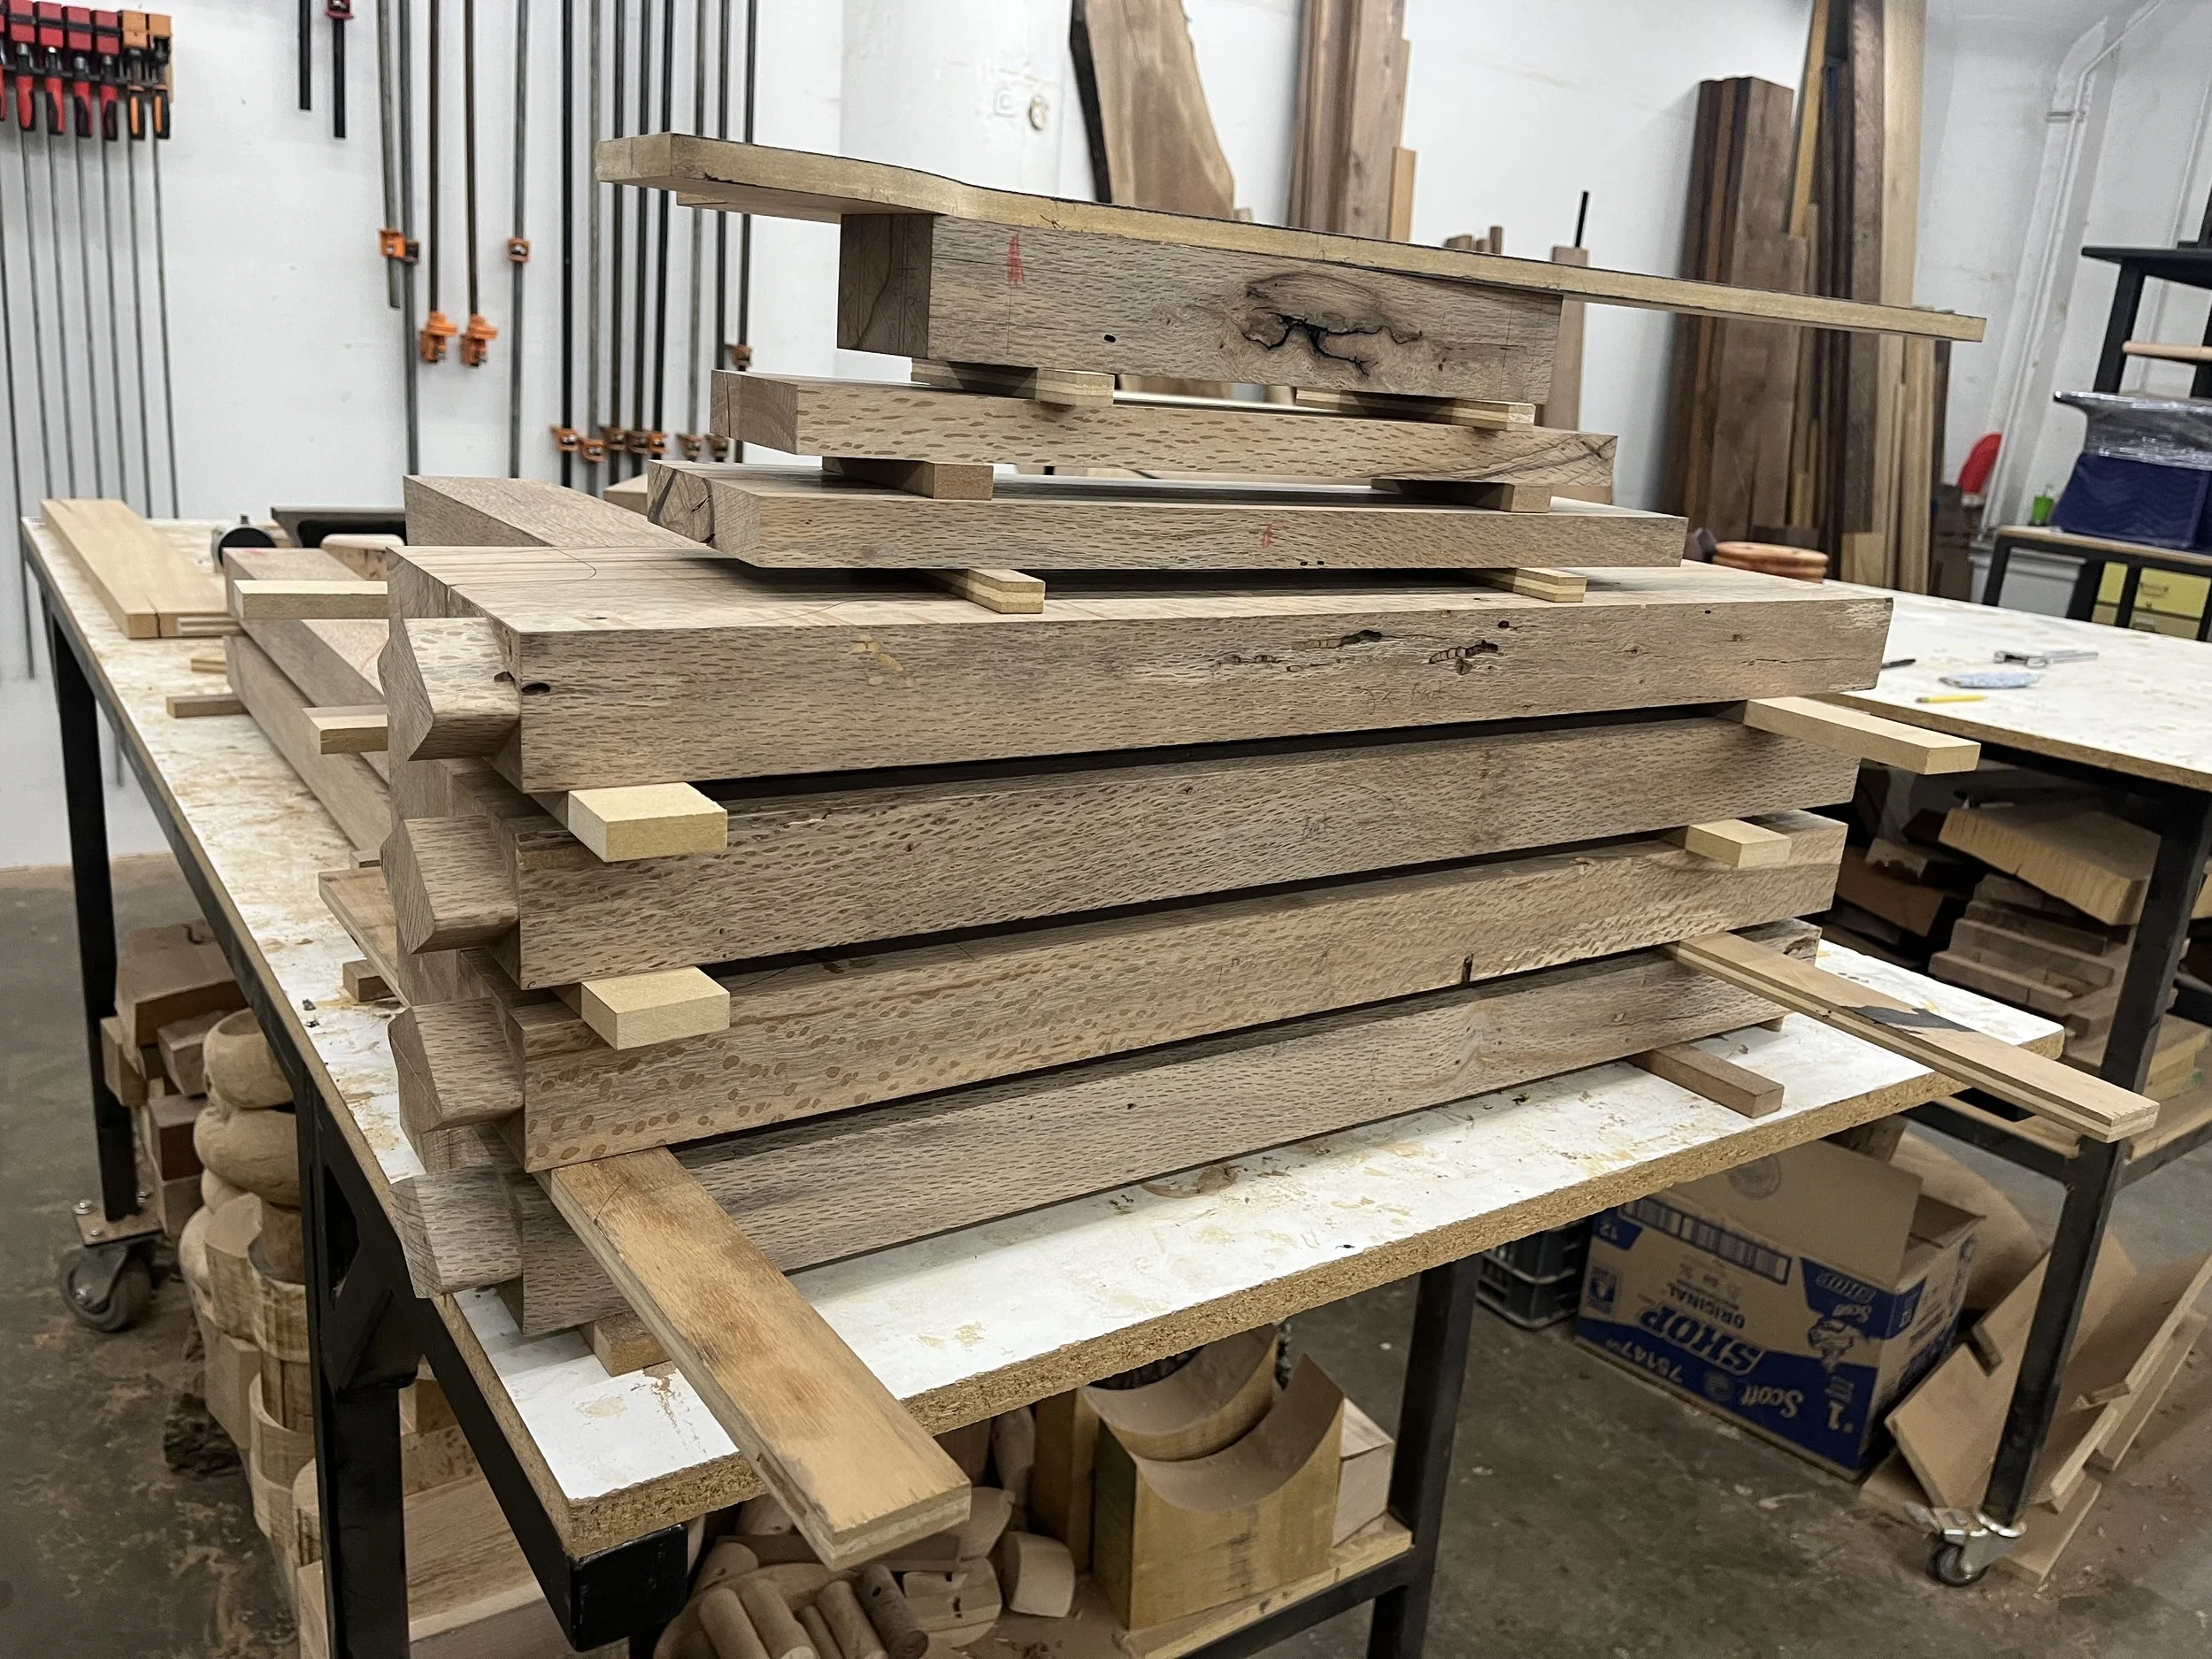
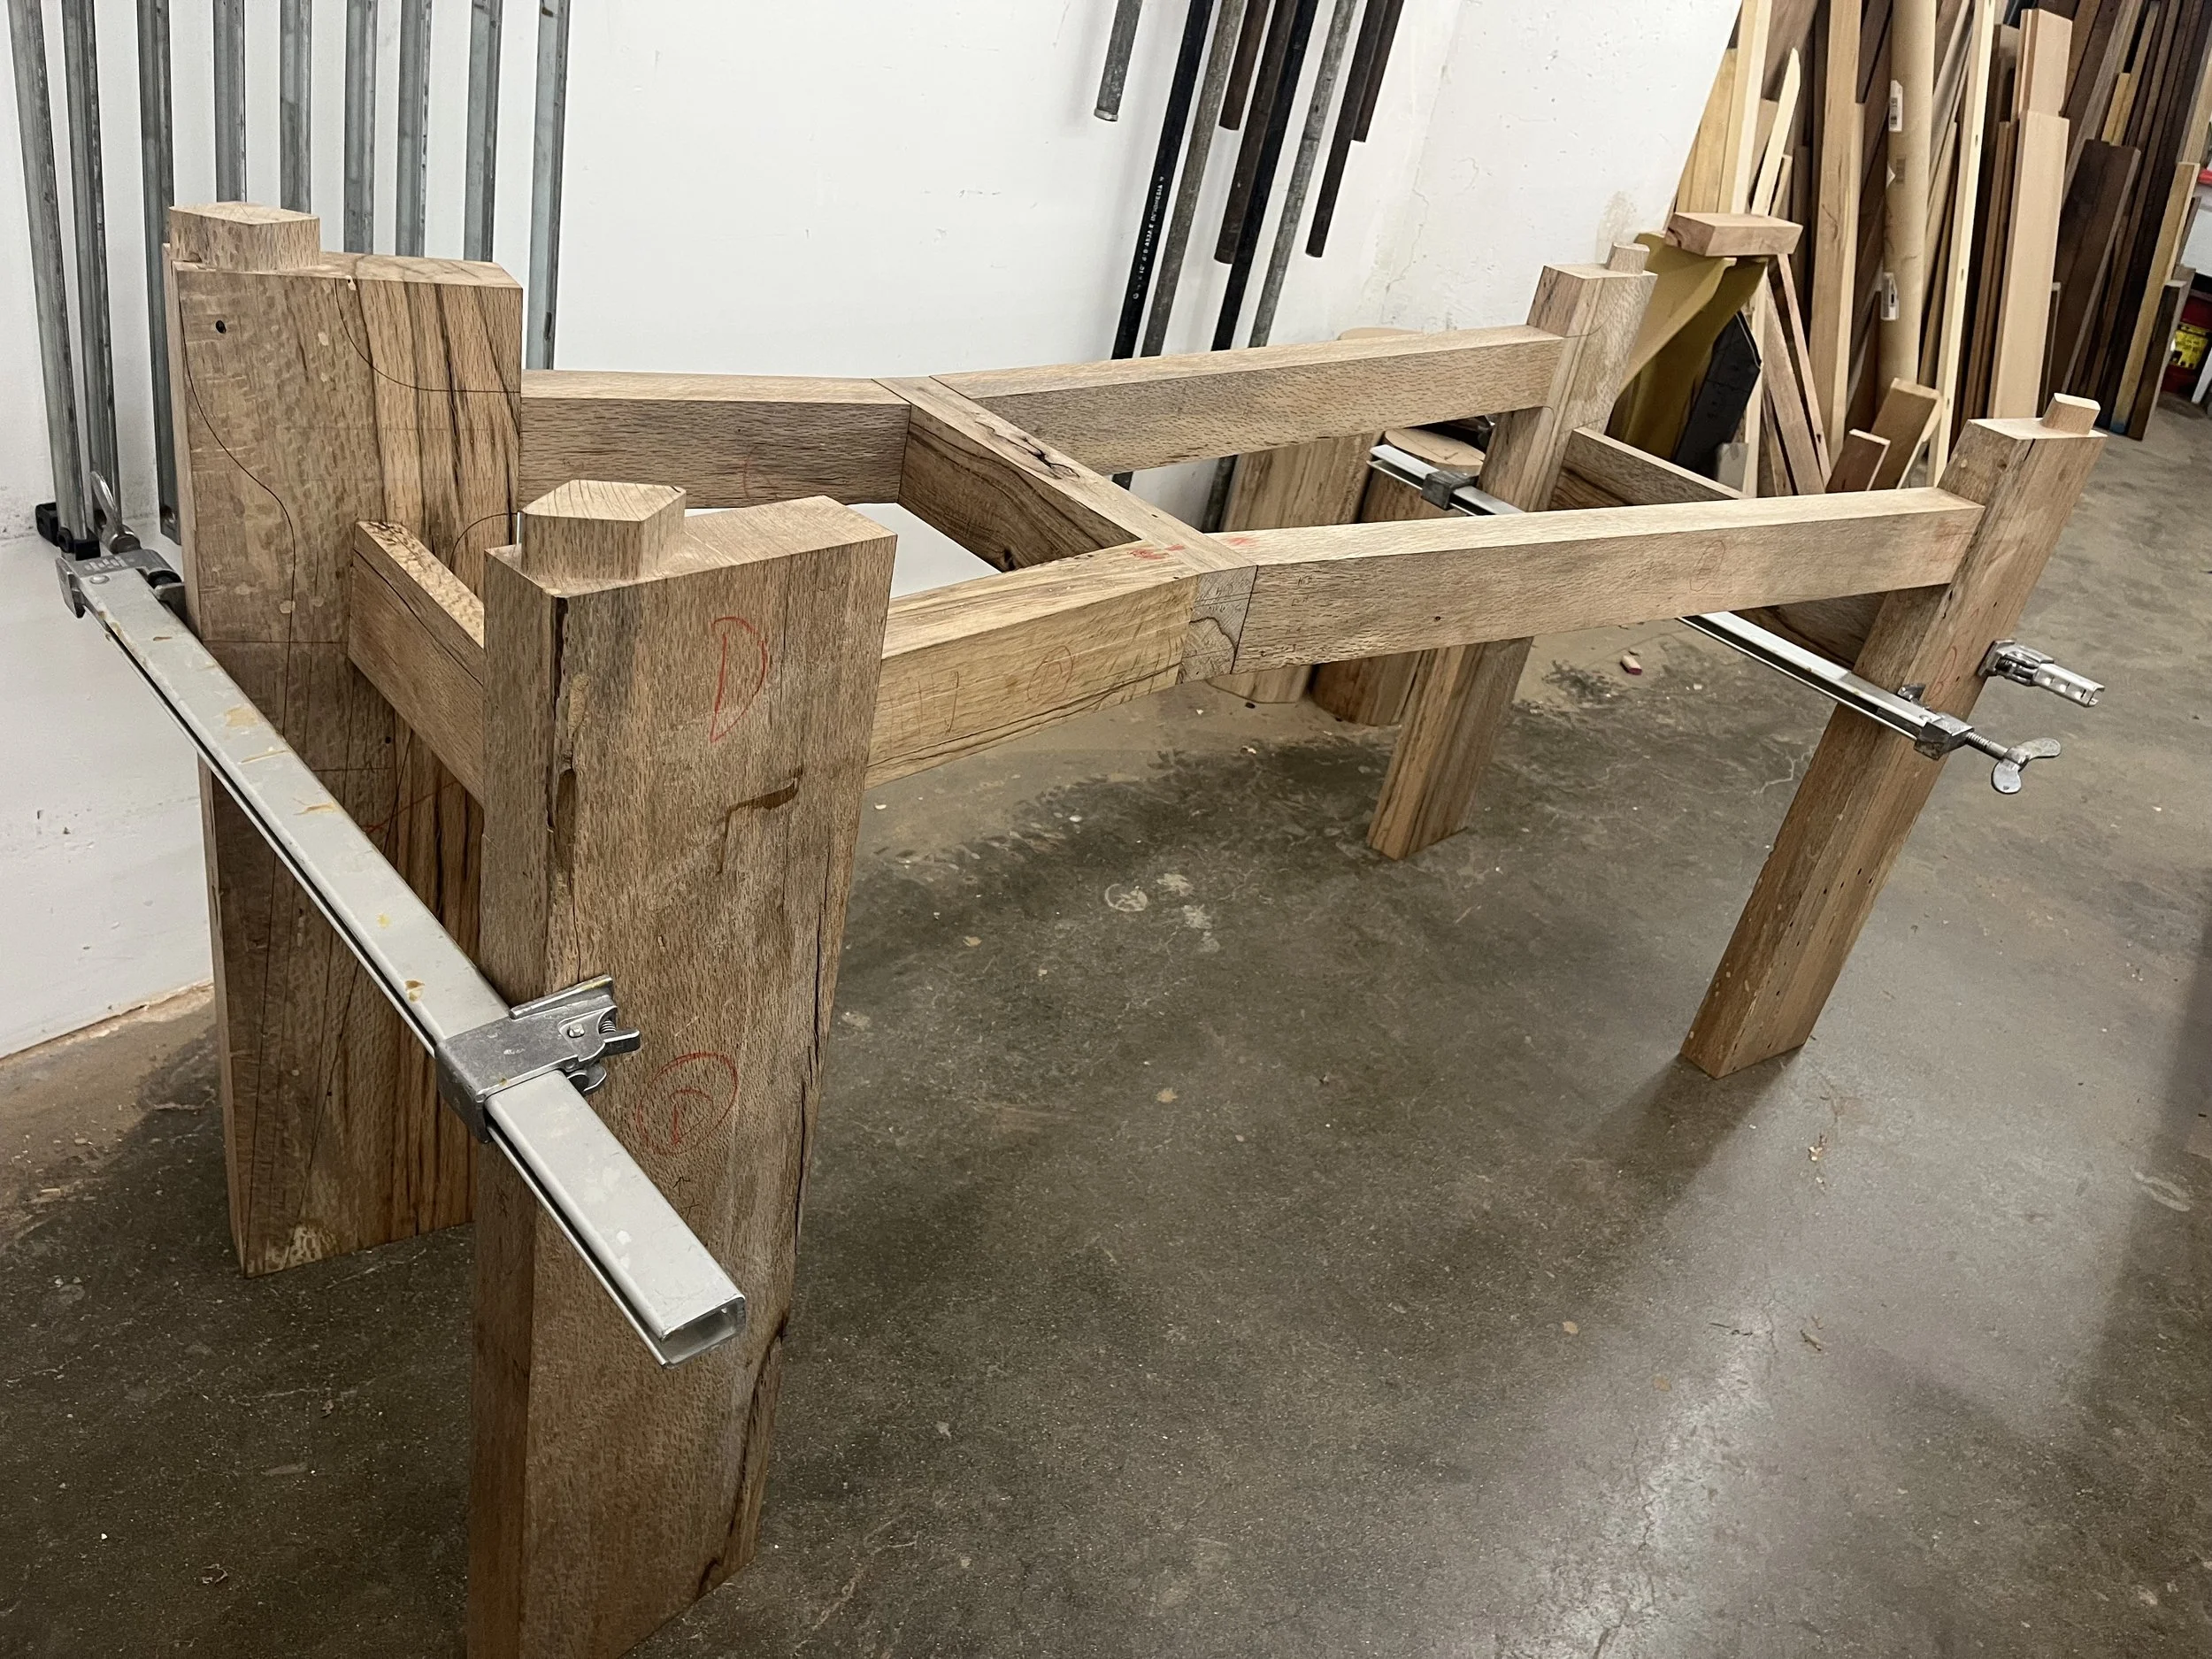
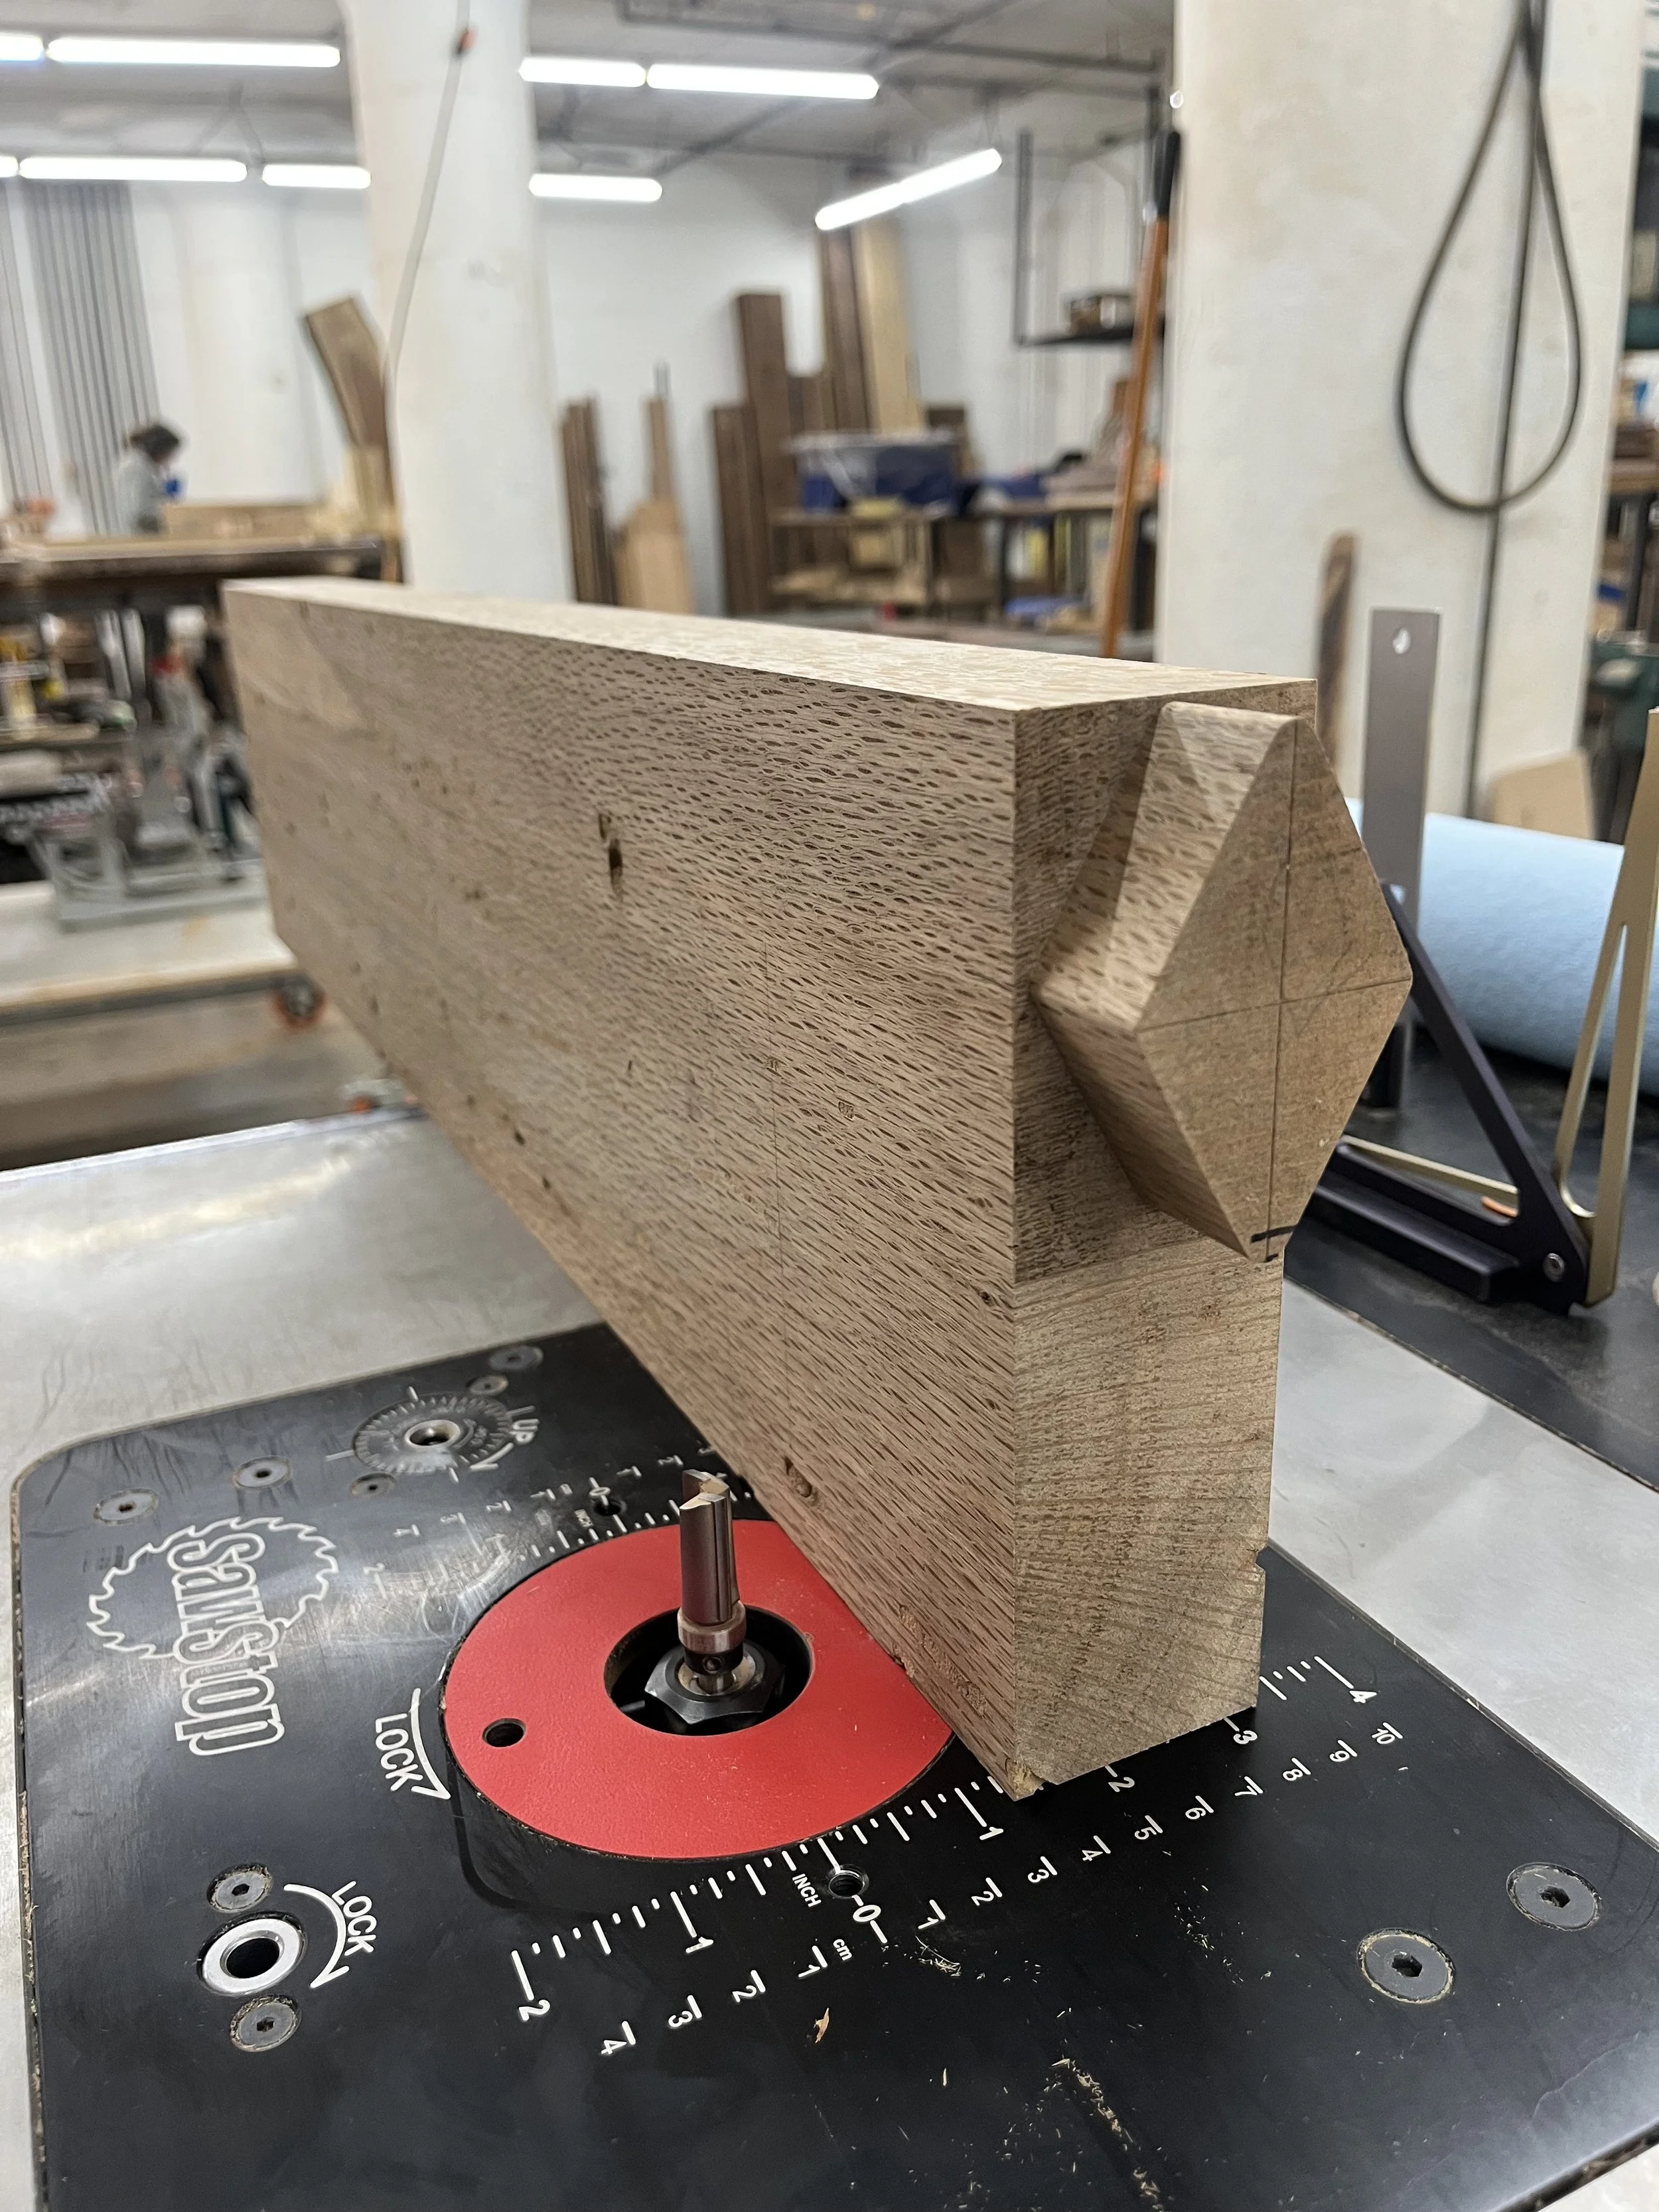
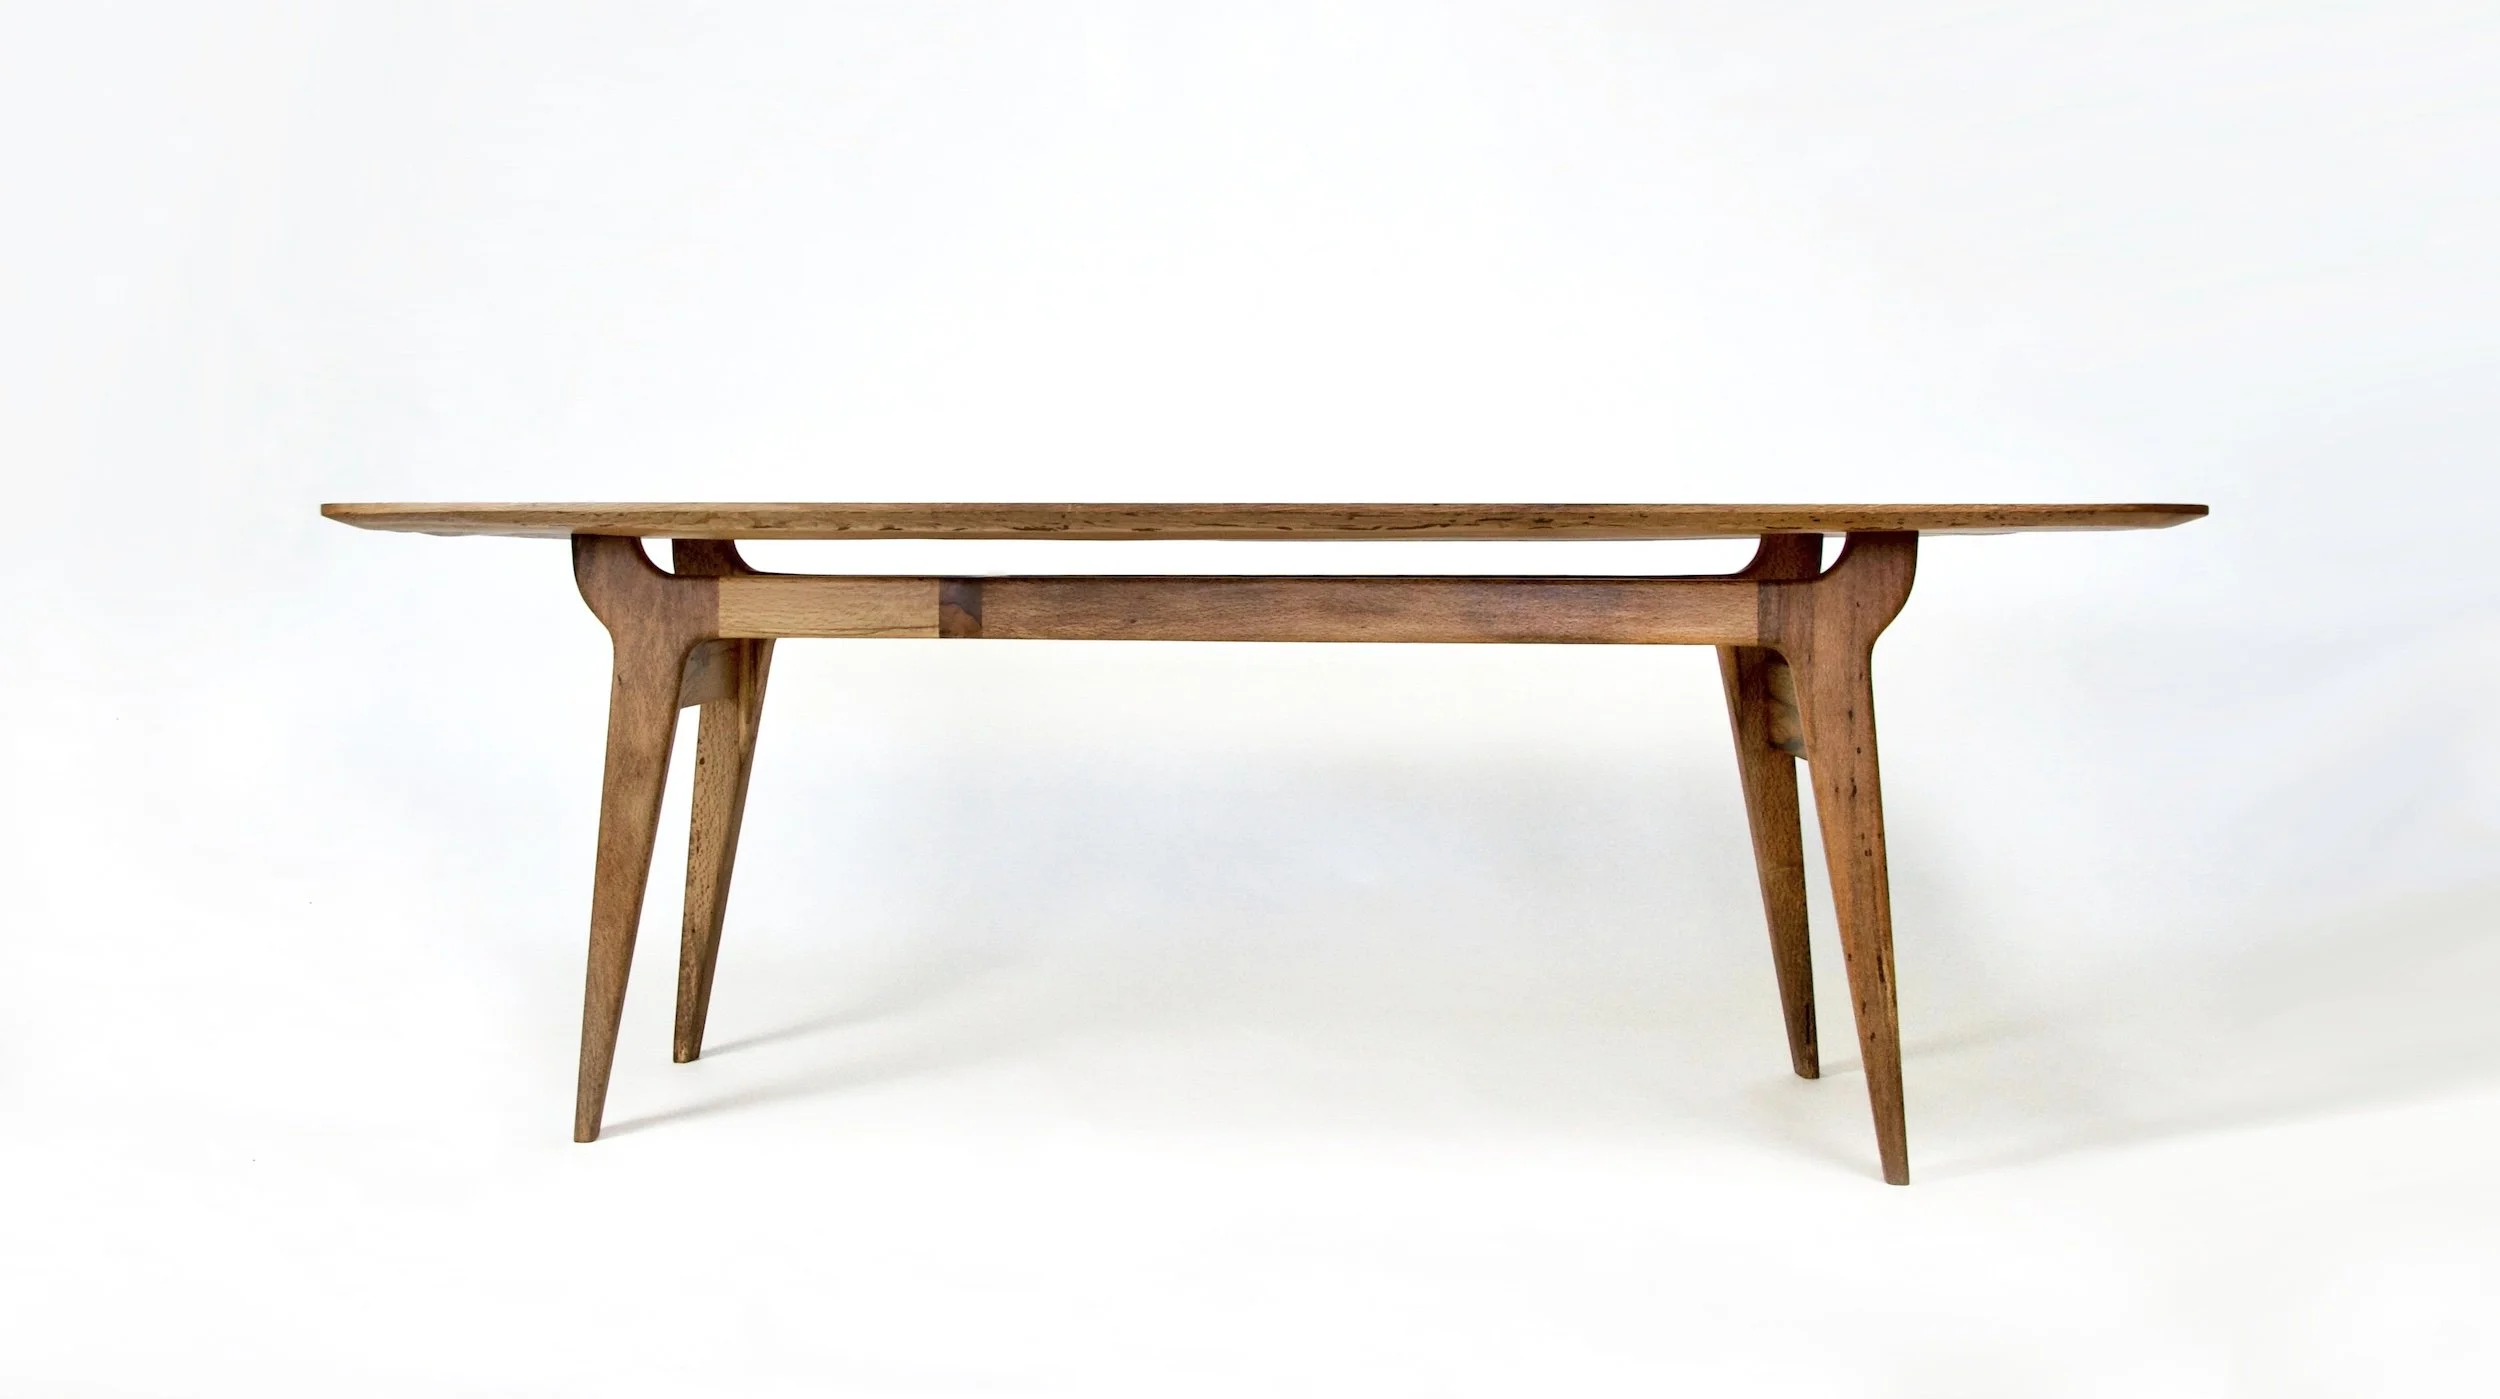
Designing and fabricating the table base was a project of its own. Before selecting oak stock, we created a prototype entirely out of poplar to assess the design and make any alterations we saw fit. Once the kinks had been worked out, we created a cut list and pulled lumber at the correct thickness from our stock of urban lumber. Each piece was jointed and planed, ensuring perfect geometry before moving forward. Our neighbor Ivan at Obsydian Studios offered his CNC (Computer Numerical Control) setup to cut a template for the leg profiles. The 2.5” thick legs were rough cut on the band saw and then pattern routed using the template. At the top of each leg we cut a diamond tenon which projects through the table top. We also milled the connecting beams to their final dimensions and milled mortises into the end grain for the connections to the legs and the central cross bar.
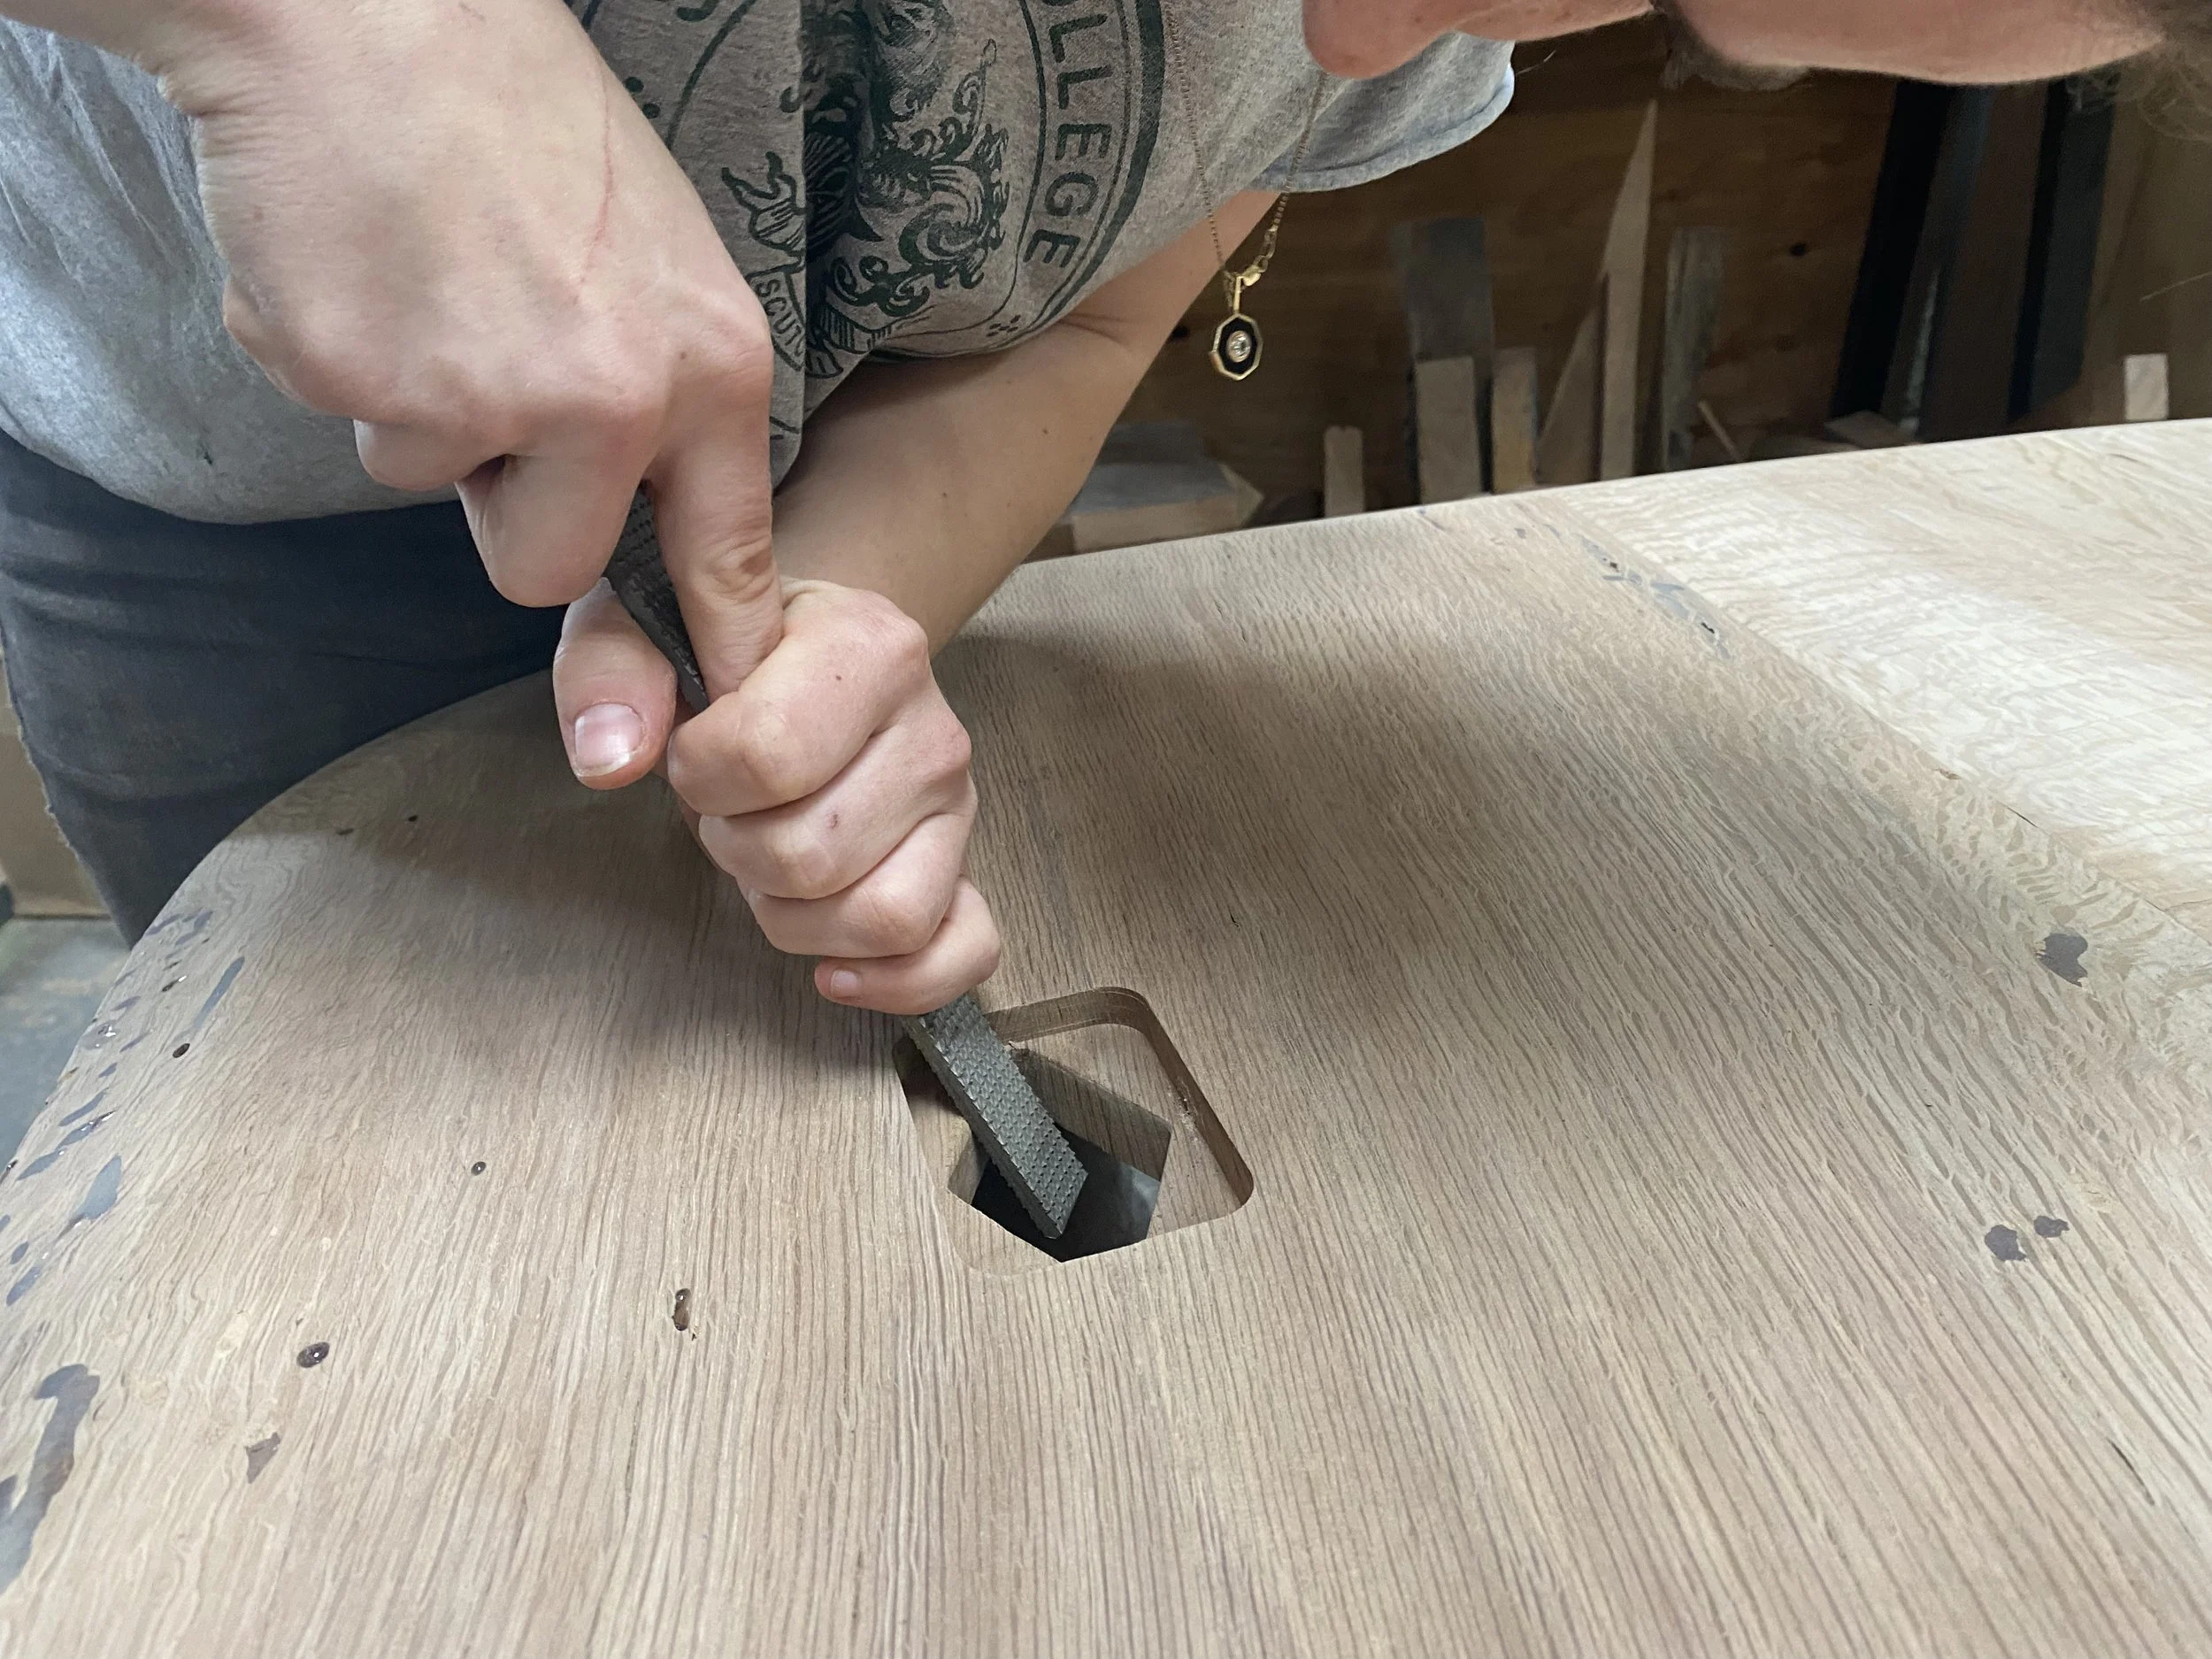
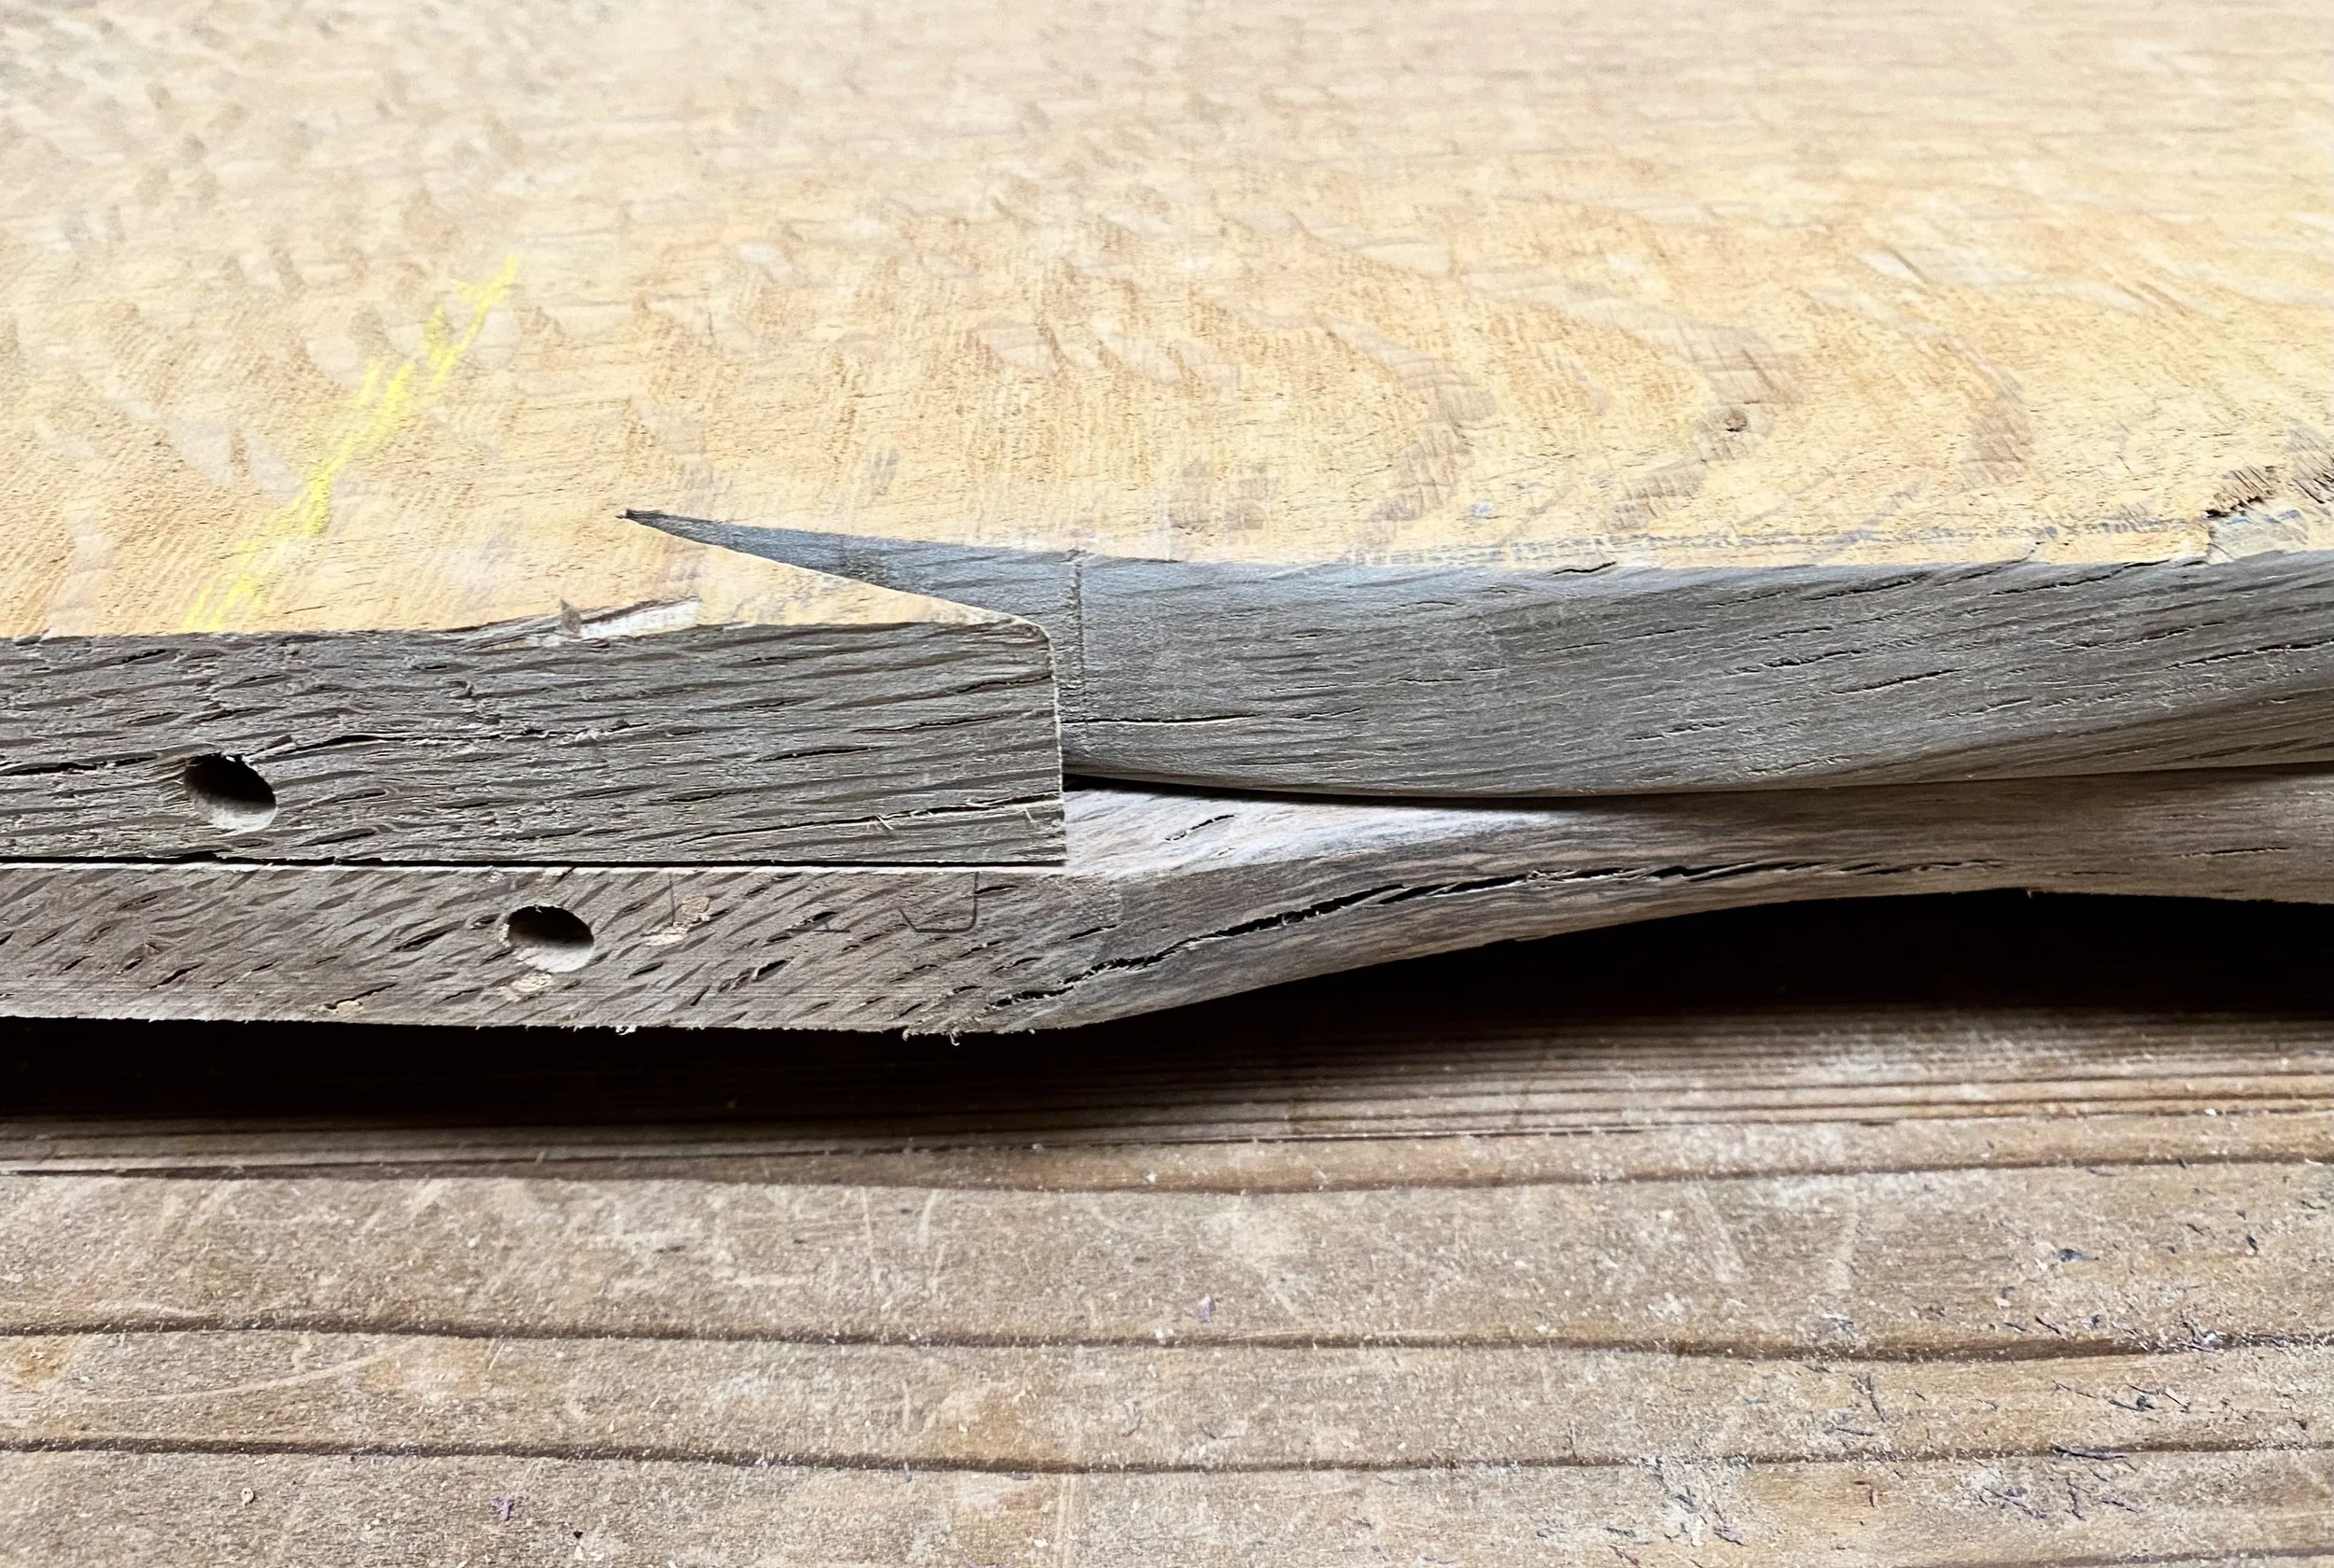
Then came assembly. We glued the mortise and tenon leg structure together, then rounded every edge with a router to create a smooth, sinuous profile. Since the table design included through-tenons which would be visible as part of the table top. We cut the mortises in the table underside with precision to match the diamond tenons by taking the fully assembled legs and tracing each tenon onto the table top. We then cut them with a precision pattern routing guide.
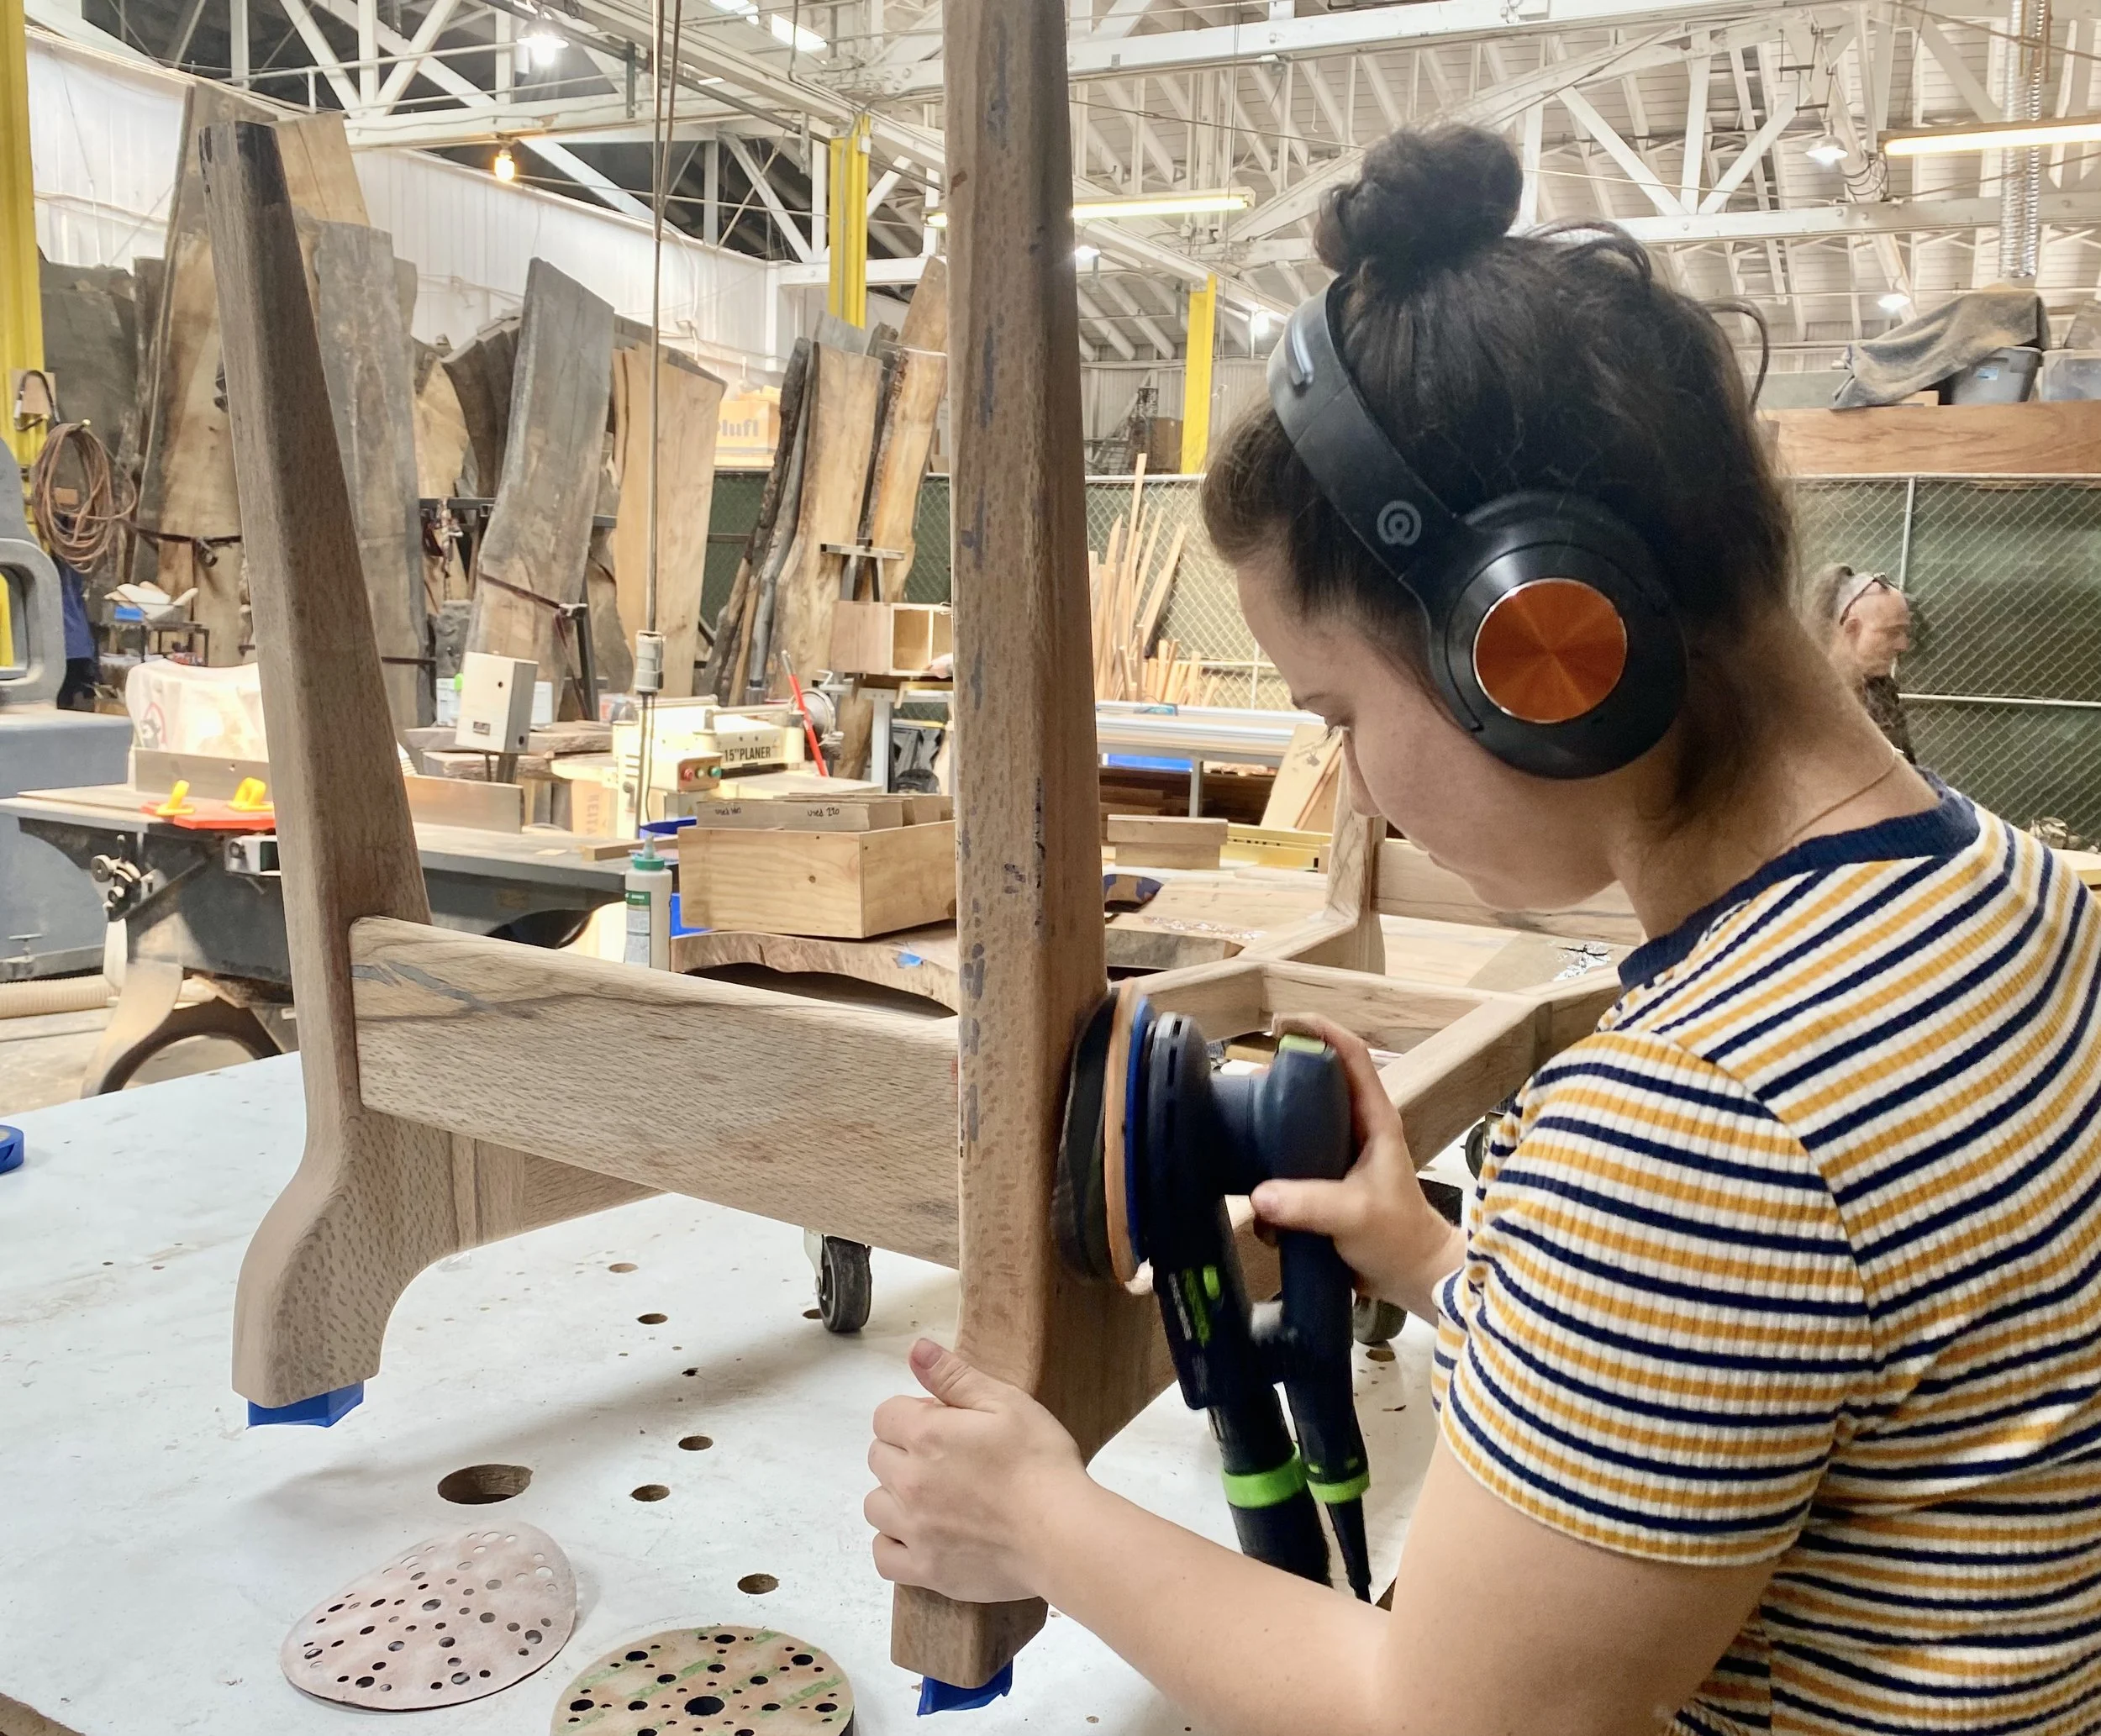
Once assembled, we moved into finish sanding, moving through progressively finer grits to bring out the grain. We applied a first coat of natural finishing oil, allowed it to cure for 12 hours, then followed by a second coat. The tabletop received the same treatment, each coat bringing richness to the grain and enhancing the warmth of the wood.
Finally, the top was placed onto the base. The mortises and tenons aligned perfectly, letting the two components sit together without the need for screws or bolts. The result is a table that is as strong as it is beautiful, grounded in centuries-old joinery techniques and made entirely from urban hardwood.
The Hannah Table reflects KEITA’s belief in creating heirloom-quality furniture that honors the material’s origins. Each step is guided by the idea that craftsmanship is a conversation between the maker and the material.
